This is will be a complete guide on how to grow parsley hydroponically that will address both experienced growers and beginners.
Those how have experience, will be able to pick up on how to grow parsley in a hydroponics system in just a couple of minutes. Beginners will find this guide helpful, it will give them a good starting point and pretty clear idea on which systems are the best to begin with.
Overall,
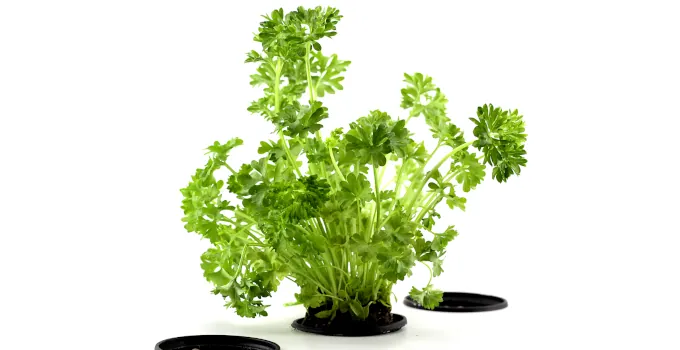
Parsley is an amazing herb that is easy to grow, whether you’re choosing hydroponics systems because plants can grow 40-50% faster and can produce 30% more yield or you end up choosing to grow it potted indoors or in the garden.
Table of Contents
How to Grow Parsley Hydroponically: Beginners vs Experienced Growers
Let me tell you right from the start that you don’t need to know much about how to grow parsley hydroponically if you already have some experience with hydroponics.
If you’ve already grown hydroponic lettuce or have grown basil hydroponically or have experience with growing hydroponic cilantro, then all that’s left for you to know is the best hydroponic conditions for parsley.
If you know things like the right pH for hydroponic parsley and the right number of hours it needs under grow lights, you’re all set.
Experienced growers choose one of the following DIY hydroponic systems for growing their plants:
- DWC (deep water culture) – the system that many begin with since it’s less expensive than the others, requires less parts (no water pump needed), and less technical knowledge (no timer needed)
- wicks – it’s also easy to build at home but not as popular as DWC
- NFT (nutrient film technique) – a favorite among more experienced growers
- ebb and flow – slightly more complicated than a NFT because it requires a timer for the water pump
- drips – very popular commercially
Hydroponic parsley can be grown in all of the above. There’s also aeroponics but there aren’t a lot of household growers that actually use aeroponics.
Or maybe you’re used to growing plants in aquaponics systems, which totally work for parsley (both in DWC aquaponics and systems with grow beds).
For the others, who don’t know much about hydroponics, we’ll have to talk about which systems you can use. And which are actually more suited for beginners who want to grow an array of herbs or different lettuce varieties.
Once you have the whole system set up, you can explore with a lot more than how to grow parsley hydroponically. But herbs or lettuce are a really good start. After that, you can move on to all kinds of vegetables and maybe even try growing hydroponic strawberries.
Parsley Hydroponic Conditions
- the recommended pH for hydroponic parsley is 6.0 to 7.0
- but it can also grow in a 5.5–6.5 pH range, which is the general pH range for hydroponics
- 0.8–1.8 EC
- temperature range: 60 to 75 degrees Fahrenheit (15 to 25 degrees Celsius) so, you can definitely grow it in lower temperatures, as well
- 6-8 hours of sunlight or under grow lights, 10 hours under an artificial light can improve its growth rate
How to Grow Parsley Hydroponically: Main Varieties
You can experiment with whatever varieties you wish to grow.

The two most popular are the Italian one with flat leaves and the English varieties with curly leaves. You can actually use the leaves, stems, flowers, and root. It’s best used fresh, it loses most of its flavor if it’s dried or put in the freezer.
Flat leaf varieties are usually more popular because of their clean and lightly spiced flavor.
Where to Buy?
Check Price and User Reviews Here
The third variety is the root parsley or Hamburg. As the name suggests, it’s grown for its roots, not for the leaves. It’s not exactly a sought-after variety for hydroponics. Most of us tend to focus on the flat leaf or curly leaves varieties.
The root can be used in savory dishes and it’s delicious. Its appearance can be confused with the parsnip root but their flavors are totally different.
Does parsley grow a long taproot?
It’s an important fact to establish right from the beginning because it can influence the answer to how to grow parsley hydroponically.
You might see that some might recommend hydroponic systems with containers that are at least a foot deep.
If you’re growing in DIY systems like the DWC, you won’t have a problem with that because your container is probably a bit deeper than 12 inches.
My counter-argument is that I don’t actually consider most parsley varieties to have a long taproot because it can be grown with mason jars hydroponics (the Kratky method).
Wide mouth quart jars have a 6.7 inches height but they work very well for hydroponic parsley. Just as they work for growing lettuce and many other herbs in just water and nutrient solution.
I’ll talk about this method, which is perfect for beginners, later on in this article. But if you want to know more about it, I found this video for you. The person in that video actually uses coffee jars as containers for the Kratky method. You can definitely do that, too.
How to Germinate Parsley Seeds for Hydroponics
I must warn you that germinating parsley seeds for hydroponics can take quite a long time. I will try to provide you with a few useful tips to increase your chances of success.
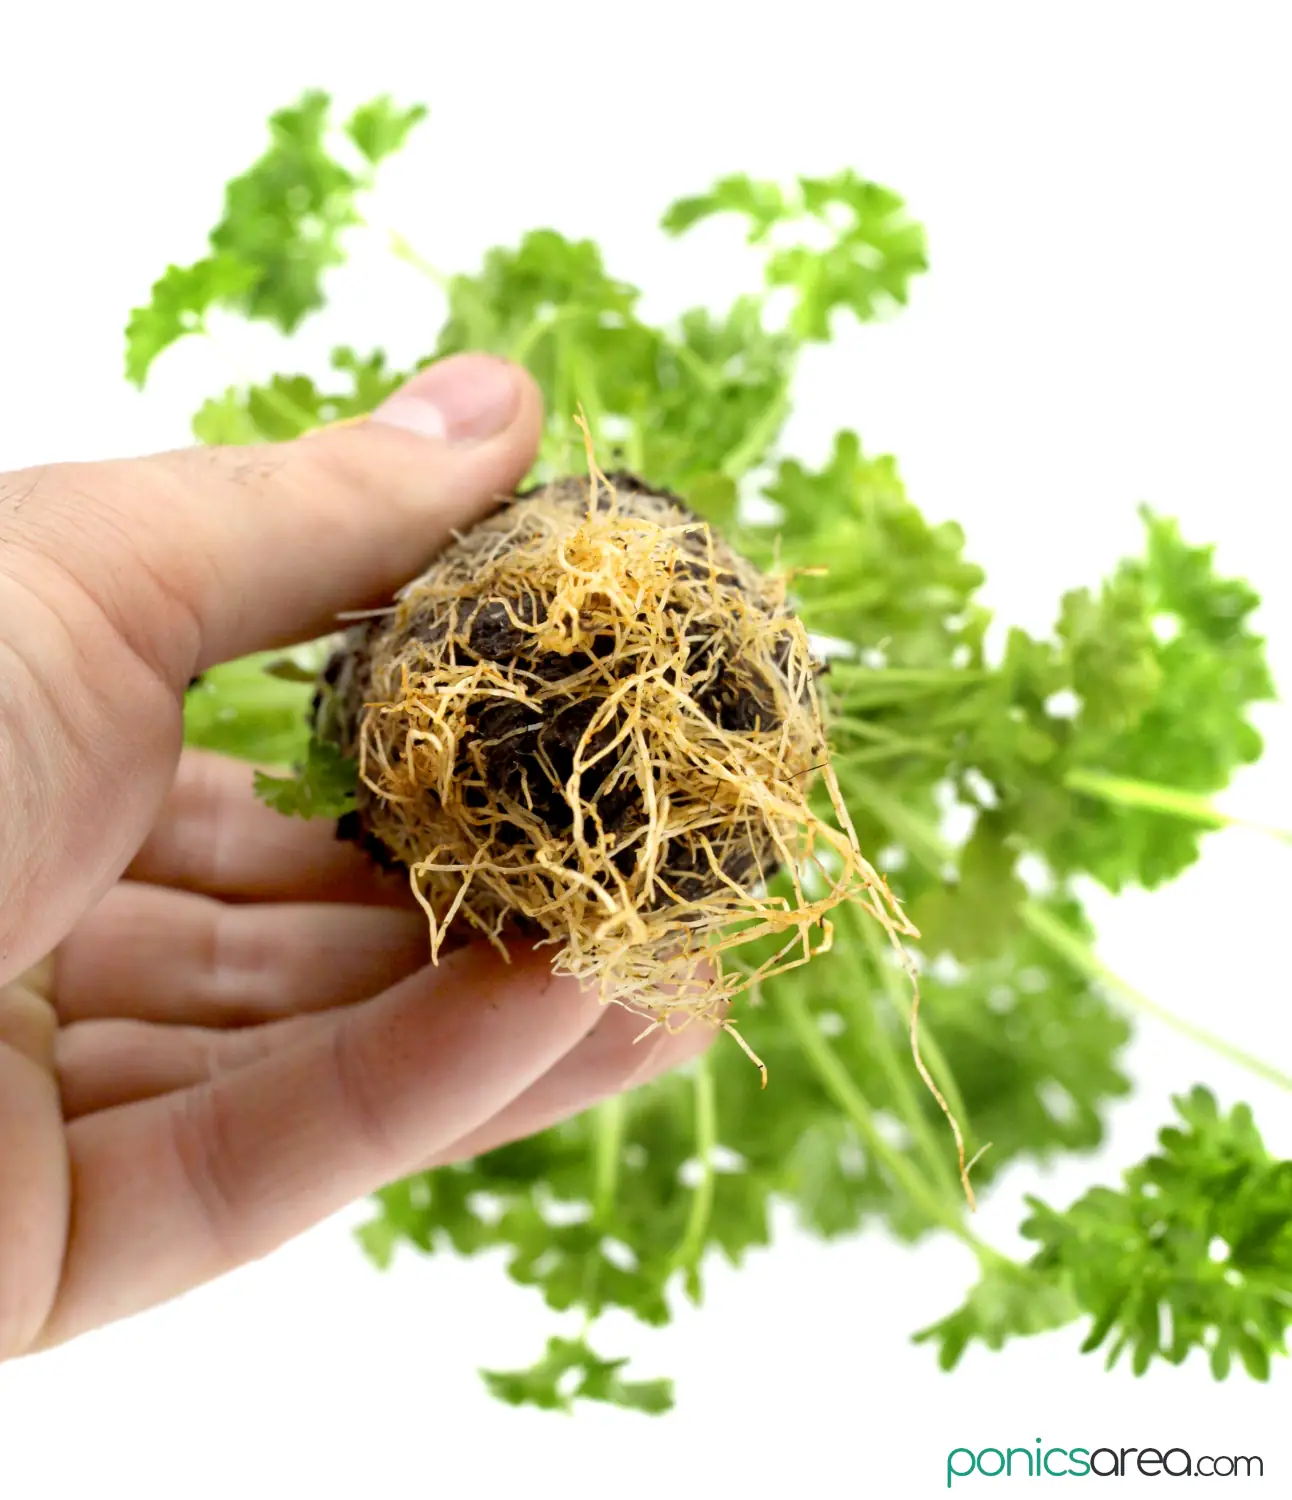
The best way to germinate parsley seeds is to use rockwool cubes.

If you buy the rockwool cubes, you can actually improvise a cheap germination tray. You don’t have to buy growing trays with humidity domes if you don’t want to.
For example, you can use a cheap cake transporter because it has both a tray and a very nice tall dome. Just make sure to put a few holes through the dome and, voila, you have a cheap germination tray on your hands.
If you’re just using a few rockwool cubes for germination, you can use a small plastic box and then slip it in a bag or cover it with plastic foil. There are so many different options.
If you have 4 mason jars as containers, you will germinate seeds in just 4 rockwool cubes. Just the same, if you have 6 unoccupied pods in your system and you want to grow parsley hydroponically in them, then you will use 6 rockwool cubes.
Where to Buy?
Check Price and User Reviews Here
If you’re not confident in your skills, simply use more cubes than you actually need, just to make sure that at least a few of the total will see seedlings sprouting.
These are the 7 simple steps for germinating parsley seeds:
Step 1: soak the parsley seeds in tepid water for 24-48-72 hours before planting to speed up germination. After up to 3 days of soaking, drain the seeds and rinse them once.
Step 2: soak up the rockwool cubes in water for about a minute, then place them in the sink until the excess water has drained out.
Step 3: place 2 seeds in each hole. Insert them with a wet toothpick if you can’t grab them with your fingers.
Step 4: pinch each hole closed or place some vermiculite over the hole to close the seeds in.
Step 5: place the rockwool cubes in the growing tray and spray them with water. One spray per cube is enough.
Step 6: put the dome over the tray and use a heat mat if you have one.
Step 7: pour a bit of water into the tray daily or once every 2 days and let the rockwool cubes take what they need, remove the excess.
You could also try germinating the seeds in paper towels for a couple of days and then transplant the sprouts in rockwool cubes with the white root down. It can speed up germination and increase chances of success.
Best conditions for germinating parsley seeds
The recommended temperature for germination is 68 to 77 degrees Fahrenheit (20 to 25 degrees C). It’s not very demanding. You don’t have to actually monitor the temperature daily. Just make sure that it’s neither too cold nor too hot.
The period of time in which germination is complete can vary quite a lot.
It can complete germination in 8-10 days, just like any other herbs. But it can also take about 2 weeks until the seedlings are big enough. Or they can germinate in 5 weeks. These seeds can germinate pretty slowly. As a rule, fresh seeds will germinate more quickly.
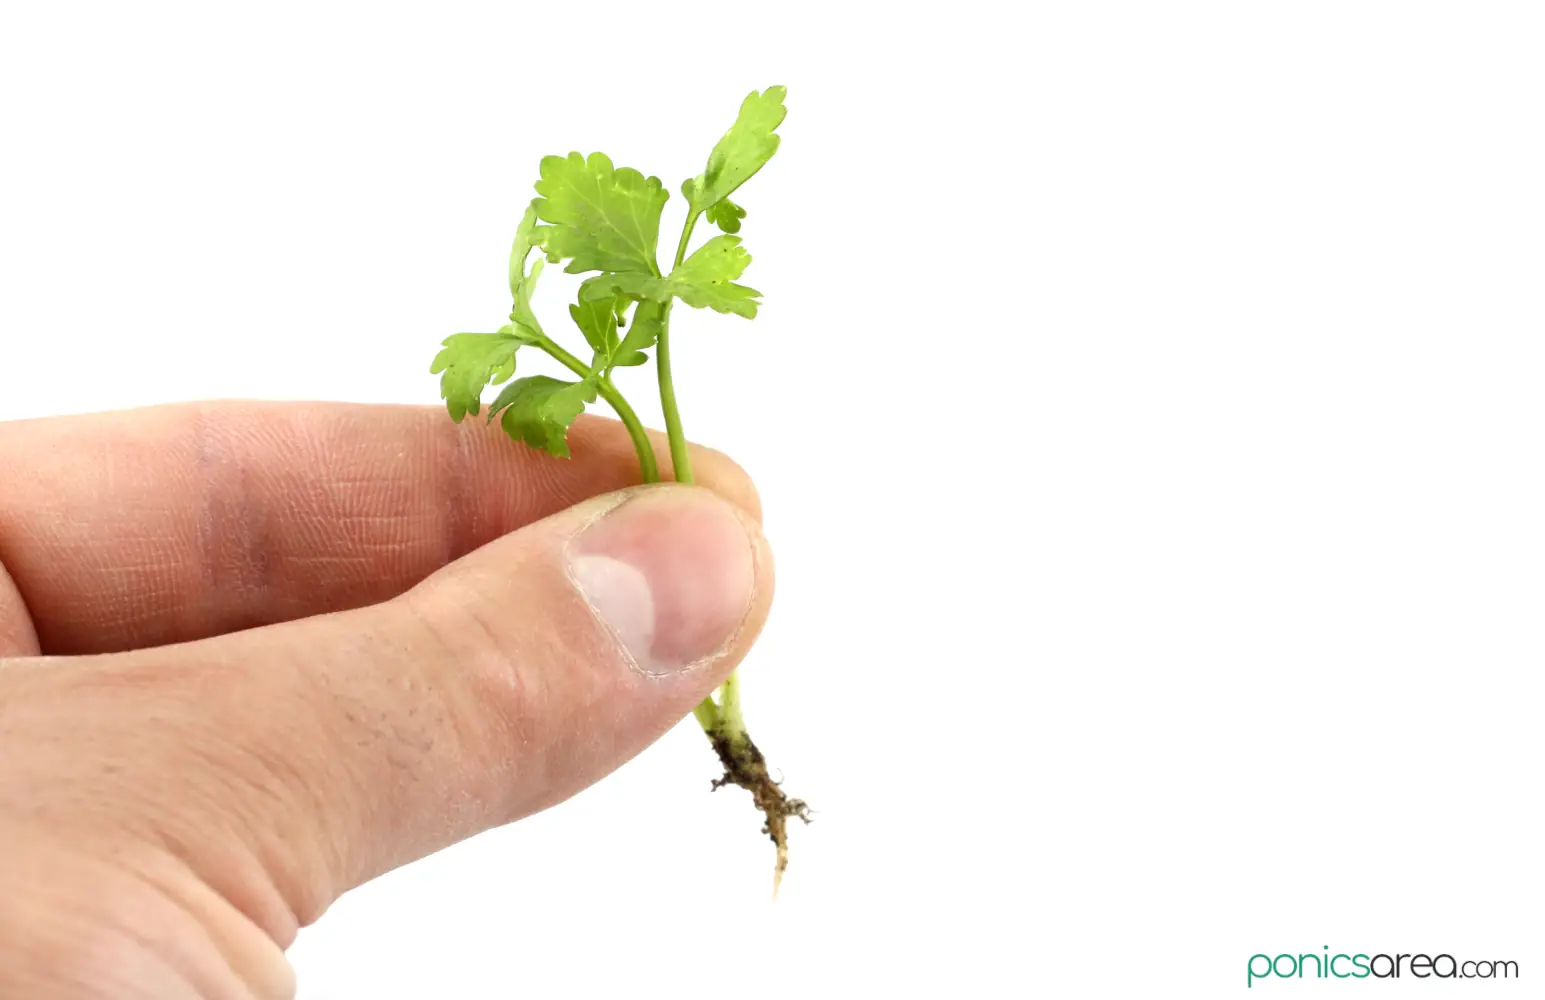
In about 2 to 5 weeks from when you sow the seeds, you can transplant the seedlings into the hydroponic system together with the rockwool cubes. There’s absolutely no need to remove the seedlings from the cubes.
How to Grow Parsley Hydroponically for Beginners
When it comes to knowing how to grow parley hydroponically for beginners, there’s one simple solution: get an indoor garden hydroponic system.
The kind of systems that I’m talking about are those from AeroGarden. Or, for a more affordable option, the iDoo indoor garden.

These kits are absolutely great for those who don’t know much about hydroponics because they come equipped with everything: container, grow lights, nutrient solution, alarms to let you know when you need to add more water and nutrients, and easy-to-follow instructions.
The AeroGarden even comes with pods that already contains seeds for herbs like parsley, basil, mint, chives. It’s also the manufacturer with the most popular and most expensive indoor gardens, where you can grow plants just from water and nutrients.
These systems for beginners are also very compact. You can place them anywhere inside a small apartment: on the kitchen counter, on the floor or on a chair. And grow plants all year round, as long as you buy more nutrient solution, the growing pods, and the seeds.
Where to Buy?
Check Price and User Reviews Here
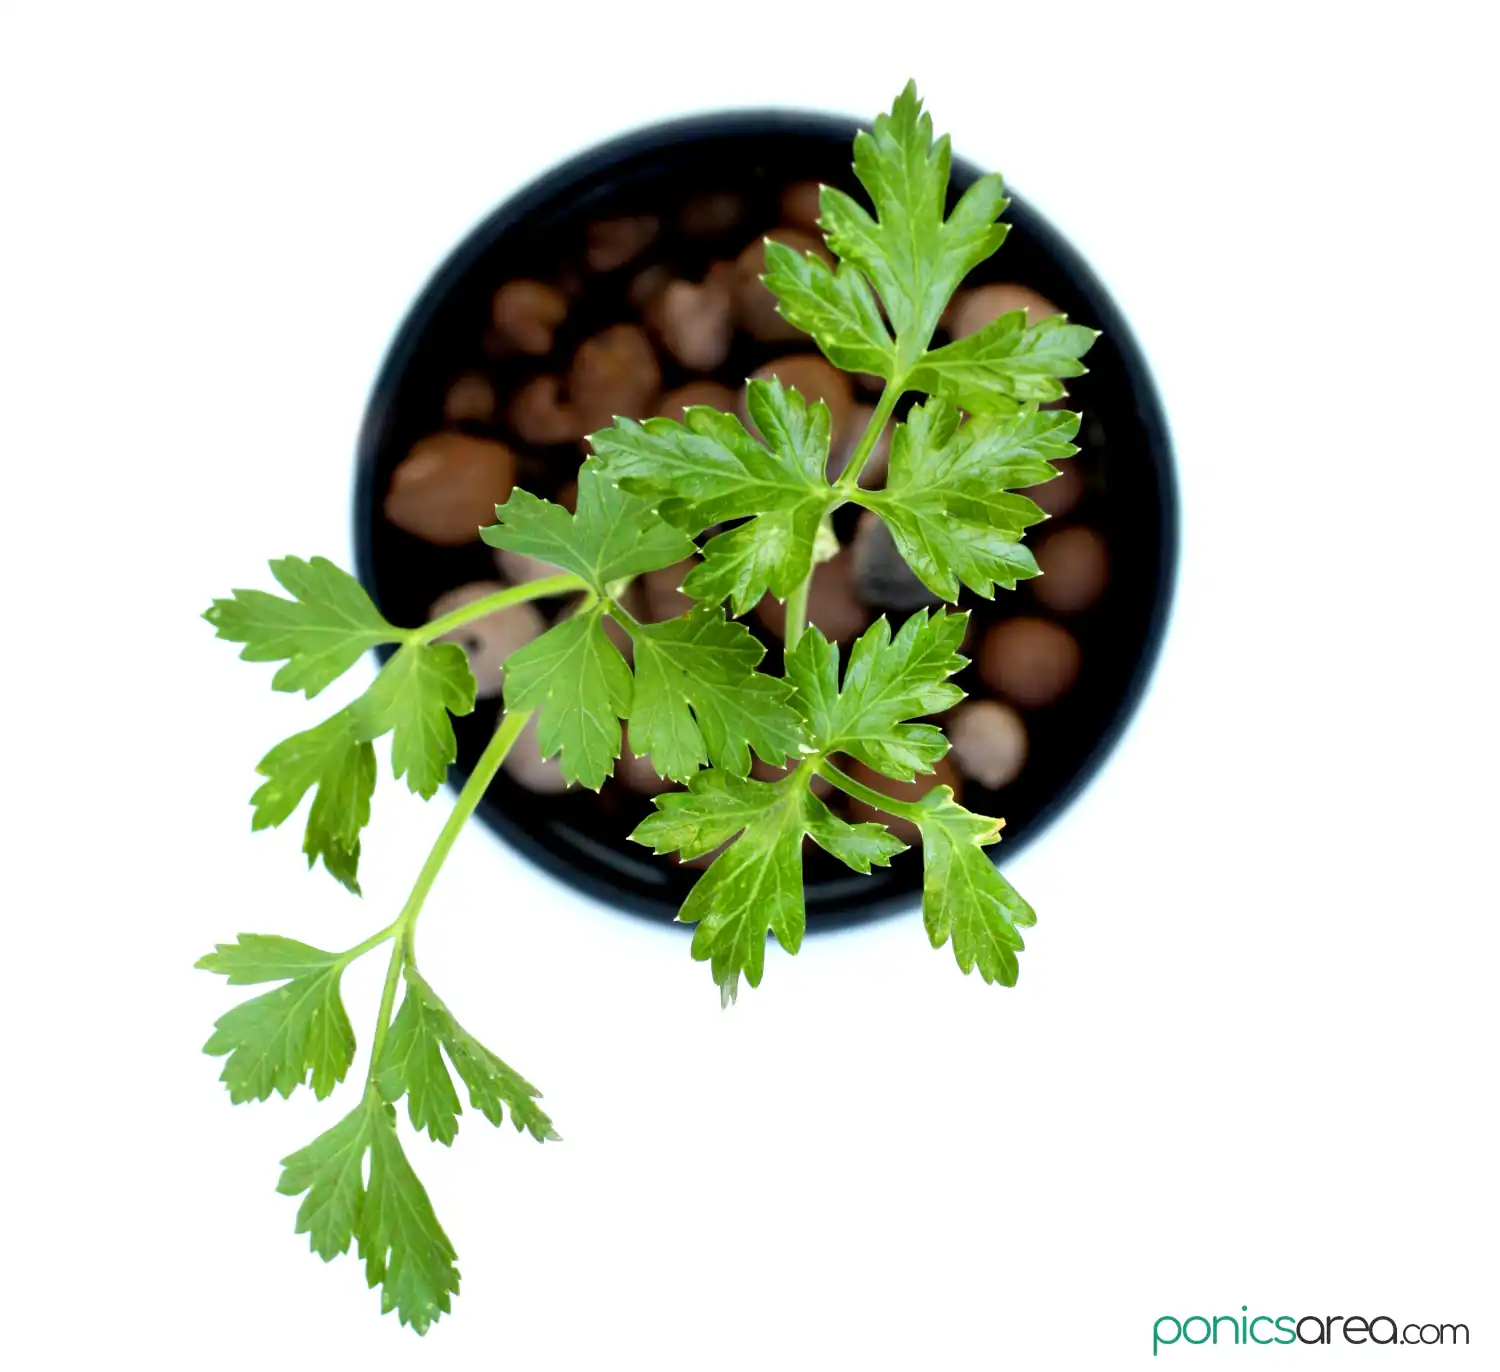
How to Grow Hydroponic Parsley Using the Kratky Method
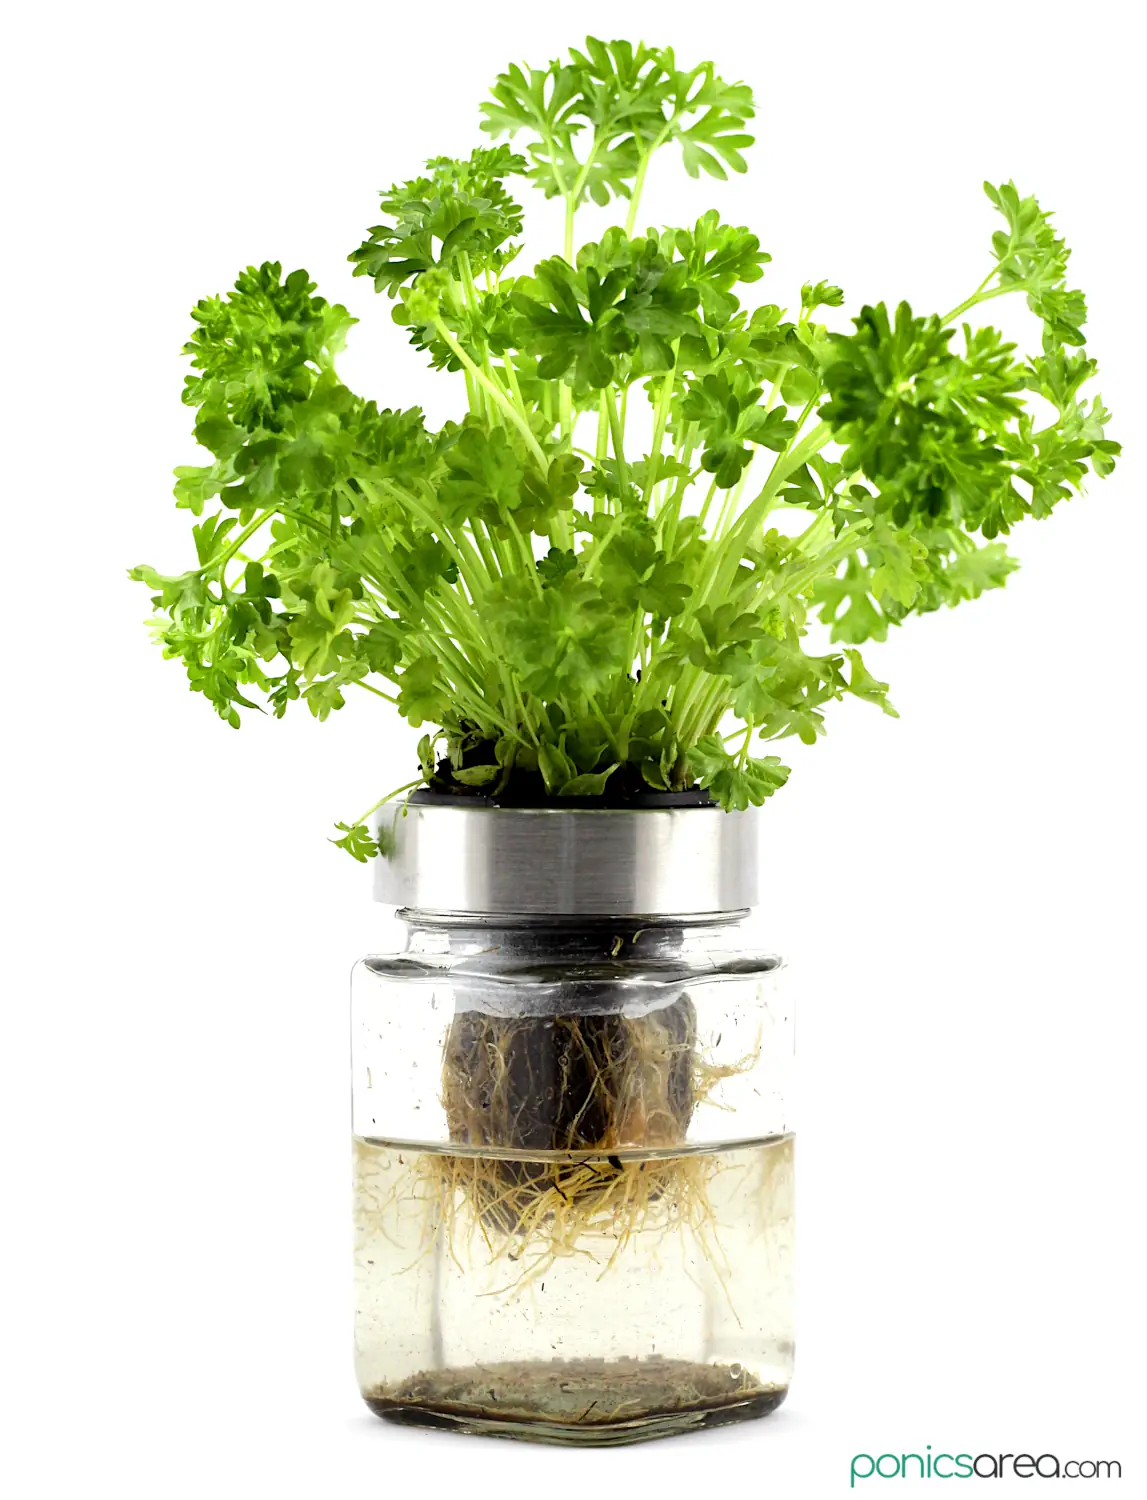
Hydroponic parsley grown using the Kratky method
But what if you don’t want to spend money on an indoor garden hydroponic system?
Then you can make the simplest, most basic hydroponic system, also known as the Kratky method with mason jars or other bigger jars that you have in your house.
I wrote an article detailing how mason jars hydroponics system works and what you need to do. But let me simply outline it here for you, here where we learn how to grow parsley hydroponically in quite a few different ways.
What you need for mason jar hydroponics (Kratky method):
- quart mason jars with wide mouth (32 oz) or other bigger jars where 3 inch net pots fit perfectly
- the net pots are the ones holding the rockwool cubes with the seedlings
- you should also surround the rockwool cubes with expanded aggregate clay (hydroton) to keep them upright and in place
- if you’re using smaller jars, you should buy 2 inch net cups
- hydroponic solution – buy it in dry form and follow the instructions written on the package to mix it with water
- cover the mason jars with aluminum foil to keep the light out and prevent algae growth
- grow lights – fluorescent lights are cheaper but full-spectrum LED grow lights are better if you plan on growing more than lettuce or herbs or microgreens
Harvesting Hydroponic Parsley
Usually, you can harvest hydroponic parsley in about 20-30 days after transplantation.
Or when the plant reaches at least 6 inches (15 cm).
When the leaf stems have 3 segments, you can begin harvesting from the outer stems and they will grow back in a few weeks.
Another method is to prune the plant, like you would prune basil for example. Using a very sharp knife or a pair of scissors, cut the stems down to 2-3 inches from the growing medium. It will completely regrow in about 3 weeks, when you can harvest it again.
If you’re following this method of harvesting, you can actually harvest parsley two times before starting a new cycle because it can definitely regrow after cutting.
It produces leaves in the first year and flowers in the second, when it goes to seed.
Just another thing:
If you’re looking to expand your options, I recommend parsley microgreens or growing microgreens in general for a wide array of plants. They’re delicious, very easy to grow, and can serve as the perfect accompaniment to how to grow parsley hydroponically.
 Hydroponic System Explained")

")