How easy is it to grow hydroponic basil at home? Can a beginner handle growing basil hydroponically? Is there a certain hydroponics system that is better recommended for this herb or actually any system will go for growing herbs?
These are just some of the questions that I’m going to answer in this article. I’ll basically try to tell you everything you need to know about growing hydroponics basil. It will be a complete guide.
But you can also change your mind and decide that you’ll grow basil the old-fashioned way in potted containers.
Well,
I will say right from the start that growing herbs hydroponically is one of the easiest things to start off with. Basil absolutely thrives in hydroponic systems.
It’s that or growing hydroponic lettuce, a lot of people definitely start off with lettuce, move on to basil and other herbs, and then upgrade to tomatoes and strawberries and other plants.
Some even attempt to grow hydroponic onions, which is a lot more complicated. When it comes to hydroponics, you can get spectacular results but plants that grow underneath the soil are the hardest to grow solely in water and nutrients.
Table of Contents
Growing Hydroponic Basil: Indoor Gardens
1. One of the best: AeroGarden Harvest Elite
We only get 6 pods for the Harvest Elite but it can be enough for grow a few basil plants and maybe a few other herbs at the same time. This hydroponic indoor garden also comes with grow sponges also include the seeds for 6 herbs (a mini herb seed kit): Genovese basil, Thai basil, parsley, dill, thyme, and mint. It also includes the nutrient solution and very good grow lights.
2. Affordable: iDoo Hydroponics Growing System 12 Pods
The iDoo is pretty great for people who want to experiment with growing hydroponic basil without spending too much money. You can an indoor garden with 12 pods, which is plenty, and it comes the grow lights we need to grow anywhere and in any season. You’ll have to buy the seeds and the nutrient solution.
Best Systems for Growing Hydroponic Basil
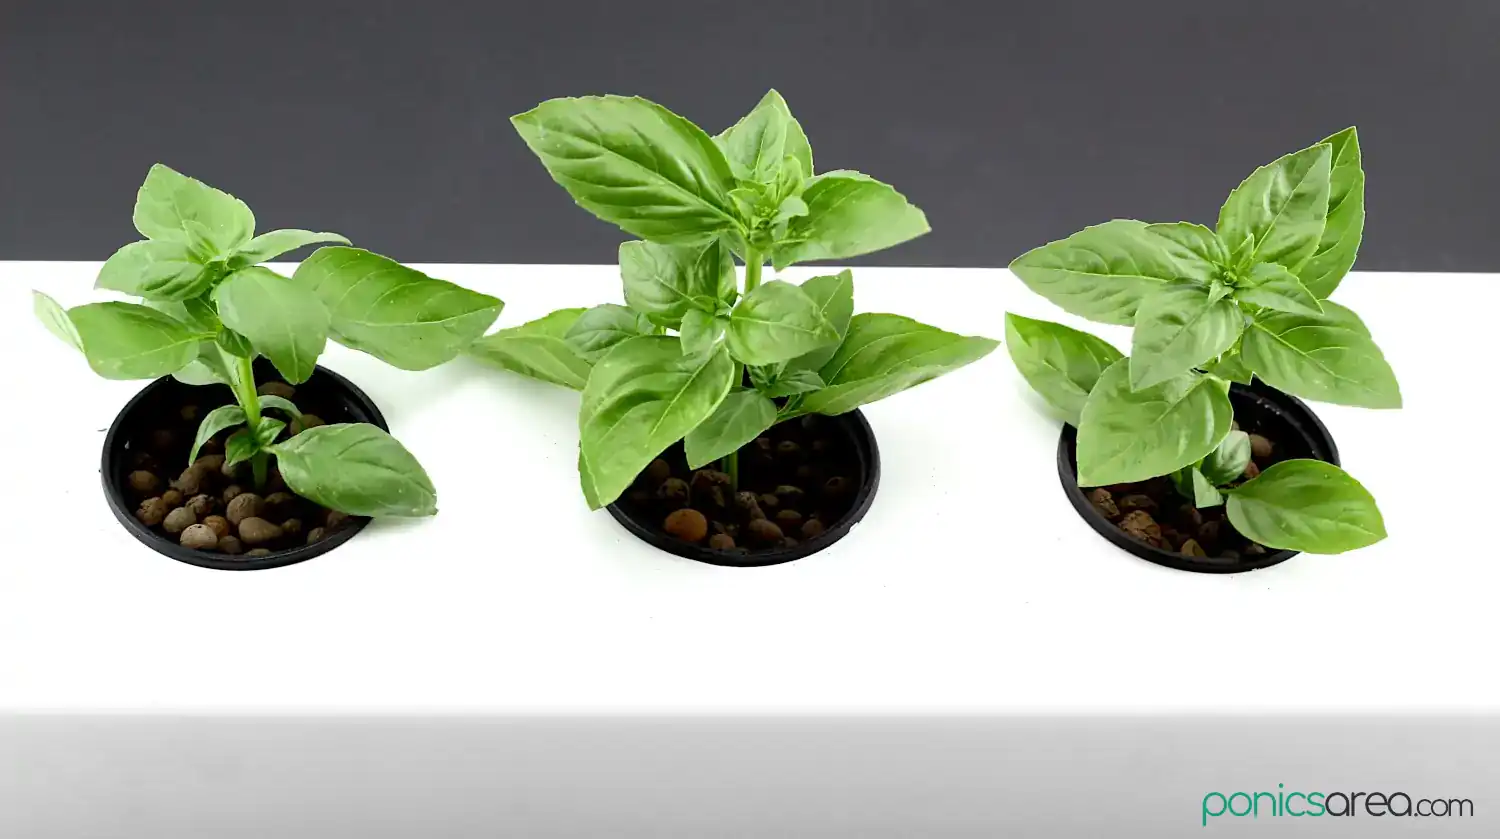
Basil grown hydroponically
There are actually two major categories of hydroponics systems that will help normal consumers grow herbs, all kinds of vegetables, and even strawberries and flowers:
1. Systems for beginners
I’m talking about the systems that are made by manufacturers. The consumers just have to buy them (some of them are not exactly cheap) and they can start growing plants after carefully reading the instructions.
This type comes with everything:
- reservoir
- grow lights
- fancy functions like water and nutrient solution alerts
- their own nutrient solution for your first crops
- the growing medium
- detailed instructions
- and so much more
2. DIY Systems
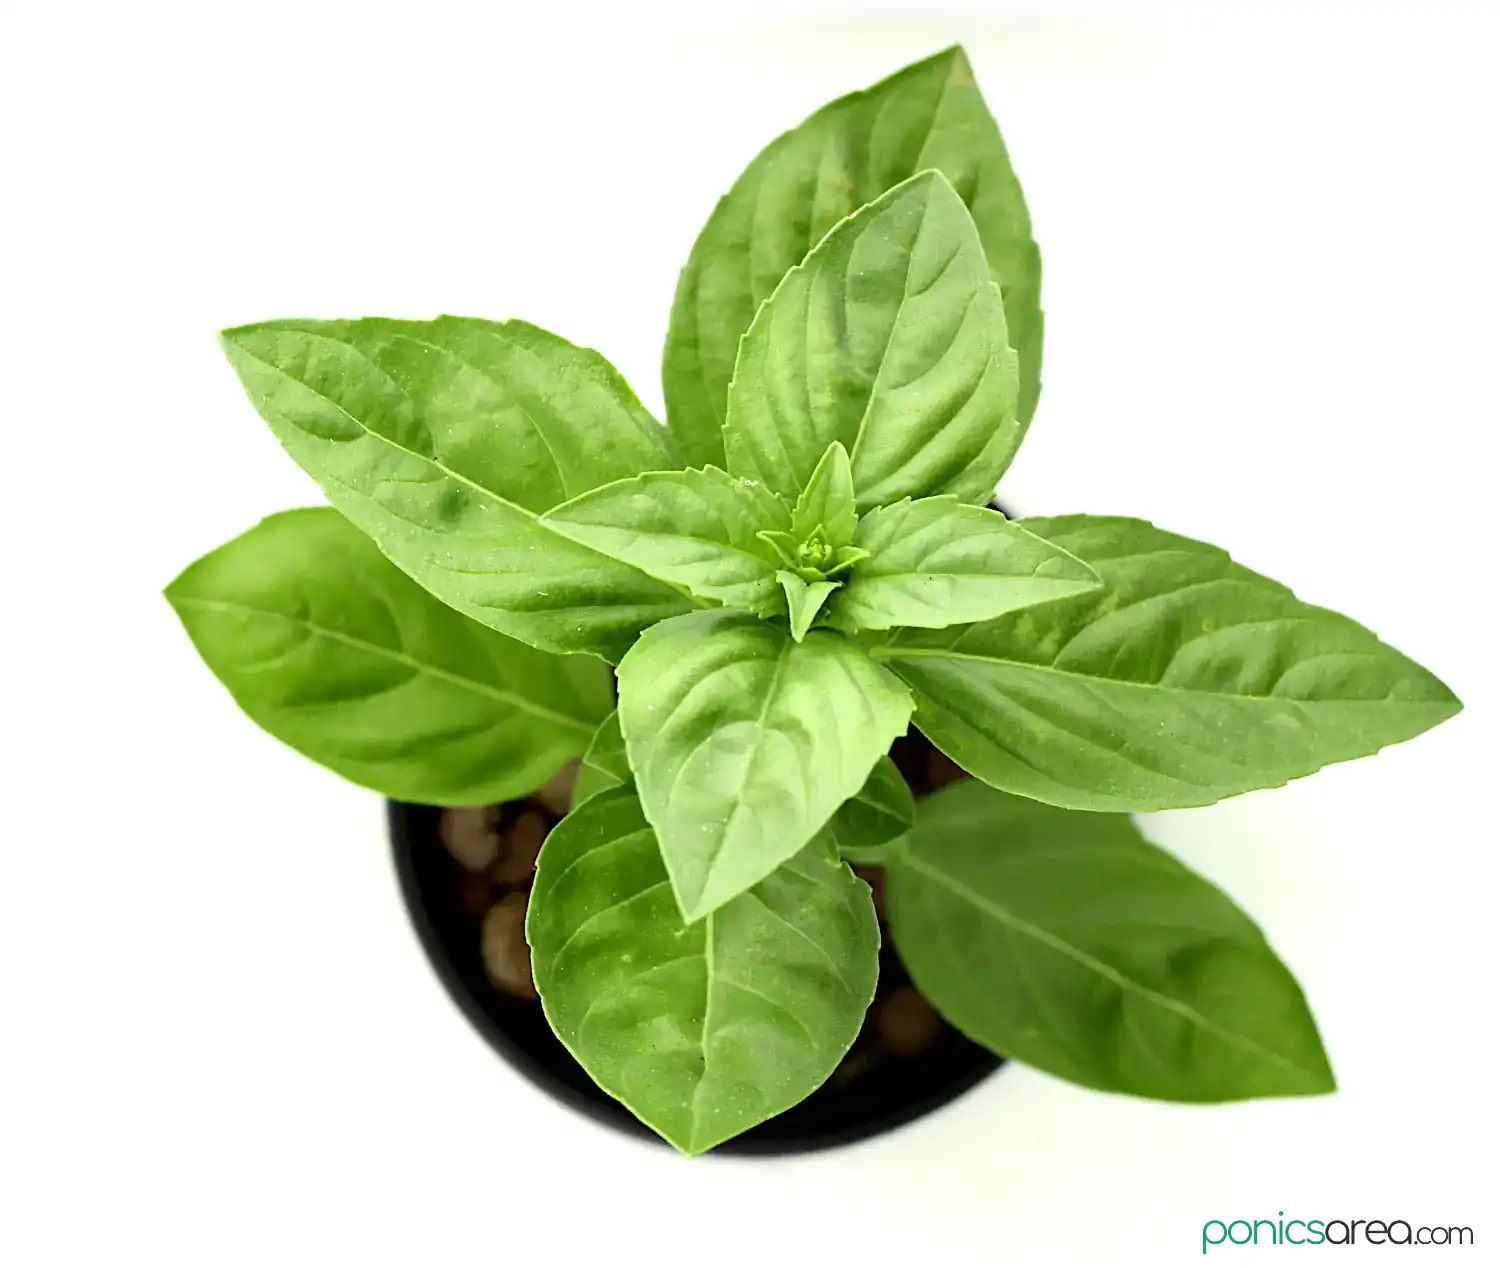
These are the hydroponics systems that you choose to build by yourself at home, the DIY ones.
They offer the advantage that you can choose how big you want the system to be and some are pretty easy to build and not at all costly.
You will have to research a bit on the best growing medium for hydroponics, the nutrient solution can be bought or you can make your own.
This type of systems takes a lot more time to built than simply making a purchase for one but, if you’re a passionate person, you’re absolutely going to love it and this is will become your favorite hobby, a very productive, with delicious results hobby.
3. Kratky method
There’s also the Kratky method. It’s the one where mason jars are used as reservoirs, it’s a pretty simple method that can be perfect for any beginner.
I actually describe the Kratky method in detail in my post on growing lettuce hydroponically. You can read it there because the same steps apply to basil entirely.
4. Simplified wicks system
This is actually a rudimentary wick system that uses plastic bottles as containers.
If you truly want to see if hydroponics is for you and you don’t want to invest time and money in building a proper system, then I strongly recommend experimenting with this method or with the Kratky method.
1. Hydroponics Systems for Beginners
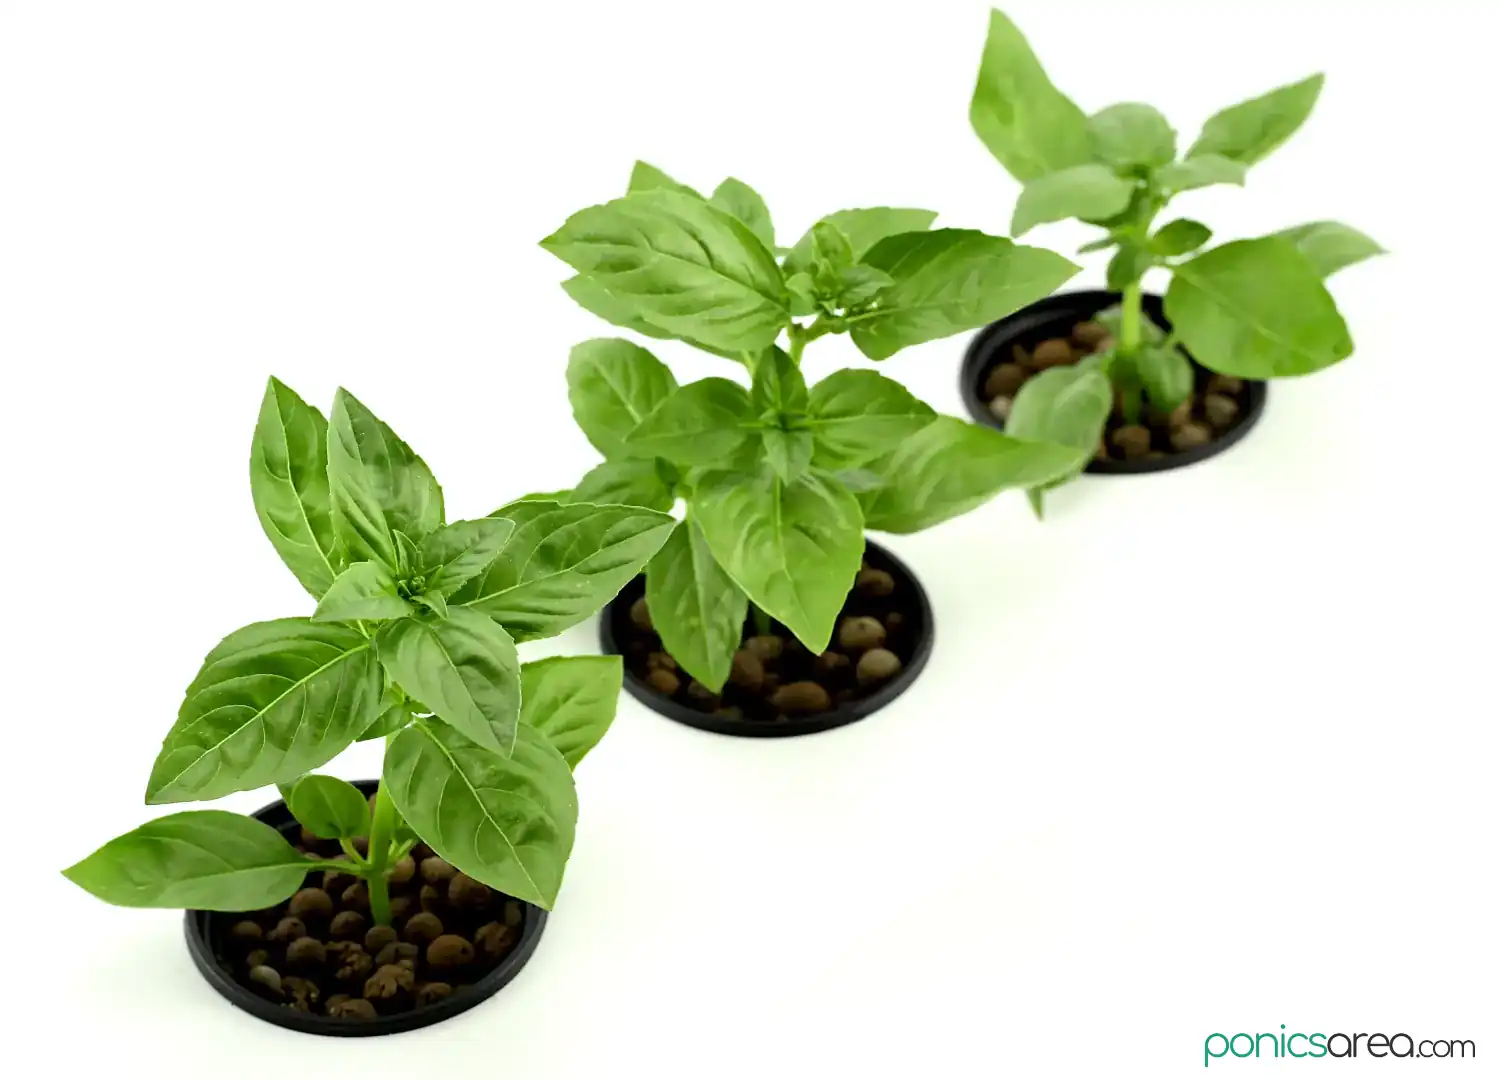
We established which are the two main choices to make when it comes to growing hydroponic basil and other vegetables. Let’s analyze in-depth each of these options.
First of all,
If you don’t want to make your own hydroponics system for growing herbs, leafy greens, vegetables, strawberries, then you can buy a ready-made hydroponic system that is all set up and will make the whole process effortless.
If you want some recommendations in that regards, check out my post on the best hydroponics kits for beginners.
You’ll find in there all kinds of systems that are very easy to use and cater to pretty much all budgets. You won’t need a lot of knowledge on hydroponics in order to figure everything out, those units come with instructions.
If this is the type of system that you’ll choose for growing hydroponic basil, you pretty much don’t have to read the rest of this post. Most of those systems really come with everything you need.
AeroGarden indoor garden
These models from AeroGarden are some of the most popular so, let’s take them as an example for what you can expect from this type of systems, which can be best described as very small scale hydroponics.
The AeroGarden indoor garden systems, which are also some of the most expensive, even come with their own herb seed kit. This herb seed kit actually includes 6 pods or 9 pods (depends on the model) with herb seeds already placed in the growing medium.
The herb seed kit includes a lot of herbs from 2/3 types of basil (Genovese and Thai basil) to mint, parsley, dill, thyme, chives.
All that’s left for the user to do is to put the water and the nutrient solution (is included in the package) in the reservoir, put the pods with the herbs in the holes, adjust the grow light and turn it On. The instructions will be easy to follow.
For other models from other manufacturers that don’t come with their own herb seed kit, the users will just have to buy the seeds for any plant they want to grow. The pods with growing medium and domes for germination are already included.
As I said, with these types of systems you really don’t needs to know much. You can read a lot more about them in this post on the best hydroponics systems.
The cheaper alternative to AeroGarden is the iDoo indoor garden.
2. DIY Hydroponics Systems
These are for the people who are really interested in what growing hydroponic basil really entails. They have to rely on their own knowledge and the knowledge provided online in order to hydroponically grow all kinds of plants.
There are 6 main systems:
- deep water culture (DWC) – perfect for beginners, you can go for the 5 gallon DWC system if you want to grow bigger plants in the future, too
- wicks – good pretty much just for herbs or lettuce
- nutrient film technique (NFT) – the next one to build if you have mastered the DWC, use PVC pipes for an easy construction
- ebb and flow – perfect for herbs and so much more but it requires a water pump and a timer
- drips – a preferred system by growers of hydroponic tomatoes and cucumbers
- aeroponics – very technical, not a lot of household growers go for it
You can watch YouTube videos on how to build at home all these systems. Aeroponics is definitely the most complicated to build at home and it’s usually preferred by commercial growers.
The DWC and the wick systems are the most approachable, the easiest and the least costly to build.
But if you want a lot of variety in the plants that you’ll grow, then you should check out the NFT, drips, and ebb and flow.
Hydroponic Basil Conditions
- nutrient solution: you can buy it or you can make your own, check out this YouTube video for an awesome recipe (there are those who are especially made for leafy greens and herbs but you can also go for general hydroponics nutrient solutions)
- basil will thrive in temperatures between 70 and 90 degrees Fahrenheit (21-32 degrees Celsius) – the range is big
- it needs at least 6-8 hours of sunlight but you can definitely use LEDs grow lights for 10-12 hrs per day (others recommend 14 hours of grow lights exposure)
- a 5.5 to 6.5 pH range will work well (those who love to be truly precise, will recommend a 5.8-6.2 pH range but basil is not that sensitive, in my opinion) – a 5.5 pH will be very good
- those who want to go for DIY hydroponics systems and take their passion very seriously will want to know that basil like an EC of 2 – the EC is a guide for salt dissolved in water (for leafy greens the EC should be between 0.8 and 1.2 and for fruiting crops the EC should be between 2 and 3.5)
3. Kratky Method
This method is absolutely perfect for experimenting with growing hydroponic basil, other herbs, and some lettuce varieties.
If you’re willing to pay for the jars, the rockwool cubes, a bag of hydroton (expanded clay aggregate), the net cups and the nutrient solution
You’ll need:
- rockwool cubes for germinating the seeds – it can take about 2 weeks until you can transplant the seedlings together with the rockwool cubes
- the rockwool cubes with the seedlings will also be your growing medium but you can also place some aggregated clay pebbles to fill in the space around the rockwool cubes
- quart jars with wide mouths – the number should match the number of rockwool cubes with seedlings
- 3 inch net cups but, if you have smaller jars, you will need 2 inch net pots
- nutrient solution for hydroponics
The instructions:
- add water and nutrient solution to the jars
- the water with nutrients will just reach the bottom of the net cups, an inch above the bottom is great
- wrap up the jars in colorful paper to keep the light out and prevent algae growth
- use LED grow lights for 10-12 hours a day
4. The Easiest Way to Grow Hydroponic Basil
This method that I’m going to mention now is the most simplified version of a wick system. You can find the YouTube video here for the visual guidance.
This simple wick system works with plastic bottles, jars, and buckets as containers.
It basically consists of a large plastic water bottle, a growing medium, water with nutrient-rich solution, and a wick.
The instructions:
Cut the plastic bottle almost in half. In the upper half (the one with the nozzle) you will place the wick and the growing medium. This is also where the seeds go but you can try growing hydroponic basil from cuttings, if you want to speed up the process.
The wicking strips can be strips from an old cotton T-shirt or felt. Fold the wick in half. It needs to be long enough to almost reach the bottom of the bottle.
Just like in the above DIY systems that I’ve enumerated, the growing medium can be rockwool, coconut fiber, peat moss, expanded clay aggregate (hydroton), etc. I say go for expanded clay aggregate first.
If you’re germinating the seeds in rockwool, transplant the seedlings with the rockwool and add some expanded clay to surround the rockwool cubes.
Once you have all that assembled, you will need to fill the bottom half with water and nutrient solution. Then, insert the nozzle into the water.
The wick will absorb the water and nutrient solution and deliver it to the roots.
Herbs and lettuce are the easiest to grow in this method and you can make as many plastic bottles as you have place.
Place the bottles in the sunlight or near a window or use LED grow lights. Wrap up the bottles in colorful paper to block out the light and prevent algae growth. You can also wrap them up in aluminum foil, it’s a reflective material.
Don’t forget about changing the water to keep it oxygenated and the nutrients replenished.
Growing Hydroponic Basil from Cuttings
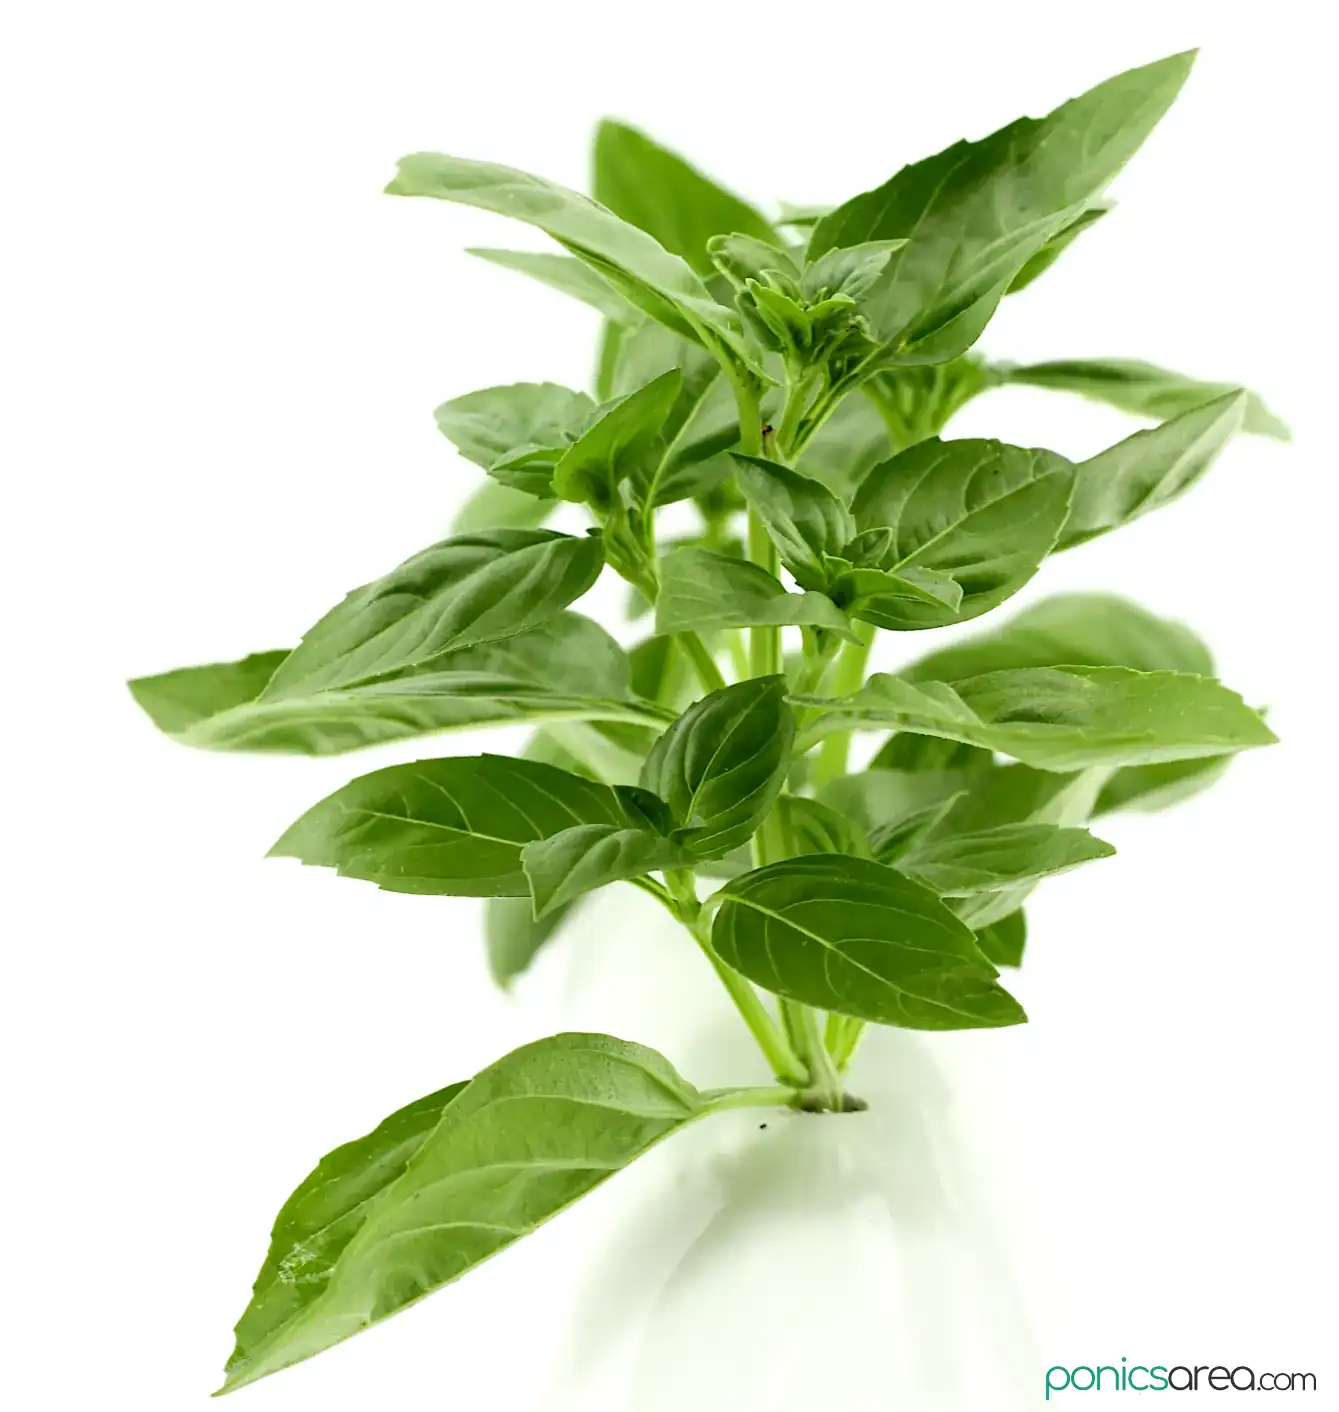
You can buy a live potted basil from the supermarket and start cutting the central stems. These will be your cuttings.
Or you can ask someone who has potted basil for some cuttings.
Now, these cuttings need to develop some roots and they’re ready to be transplanted in your hydroponics system. The system can be as rudimentary as the one I described above with the plastic bottles or it can be a proper DIY system.
Simply place the basil stems in small container filled with water. The containers can be jars, glasses, small plastic containers, plastic bottles cut in half, etc. Place the container on the window sill.
Clean up the stems of any small leaves that will make contact with water because they won’t do any good, they would just rot.
Once the roots start to grow, you can transplant them. Make sure to replace the water once every few days.
The alternative is to plant the seeds directly into the growing medium in the system or to germinate the seeds in a germination tray or in rockwool cubes and the transplant the sprouts.
If possible, make sure to get fusarium tested seeds.
Now that we’ve reached the end of this very long post, let me ask you one thing: what do potted basil plants and basil plants grown in the garden have in common with hydroponic basil?
The answer if that all basil plants need to be pruned, absolutely don’t forget about pruning your hydroponic basil when it reaches about 6 inches in height and then weekly for a bigger yield and to prevent basil flowers.

