There are two main methods that you should be aware of if you want to learn how to grow microgreens without soil. One of them will require less equipment than you might think. It’s actually quite easy.
To give you an idea of the level of experience needed and the kind of equipment you might be required in order to grow microgreens without soil, I would say that if you have any experience with germinating seeds, then you will catch on very quickly.
Given that microgreens fall right between germinated sprouts and established plants, you might see why I immediately compared the process of growing them to that of germinating seeds. After all, micros are seedlings.
The whole secret?
Use plenty of seeds.
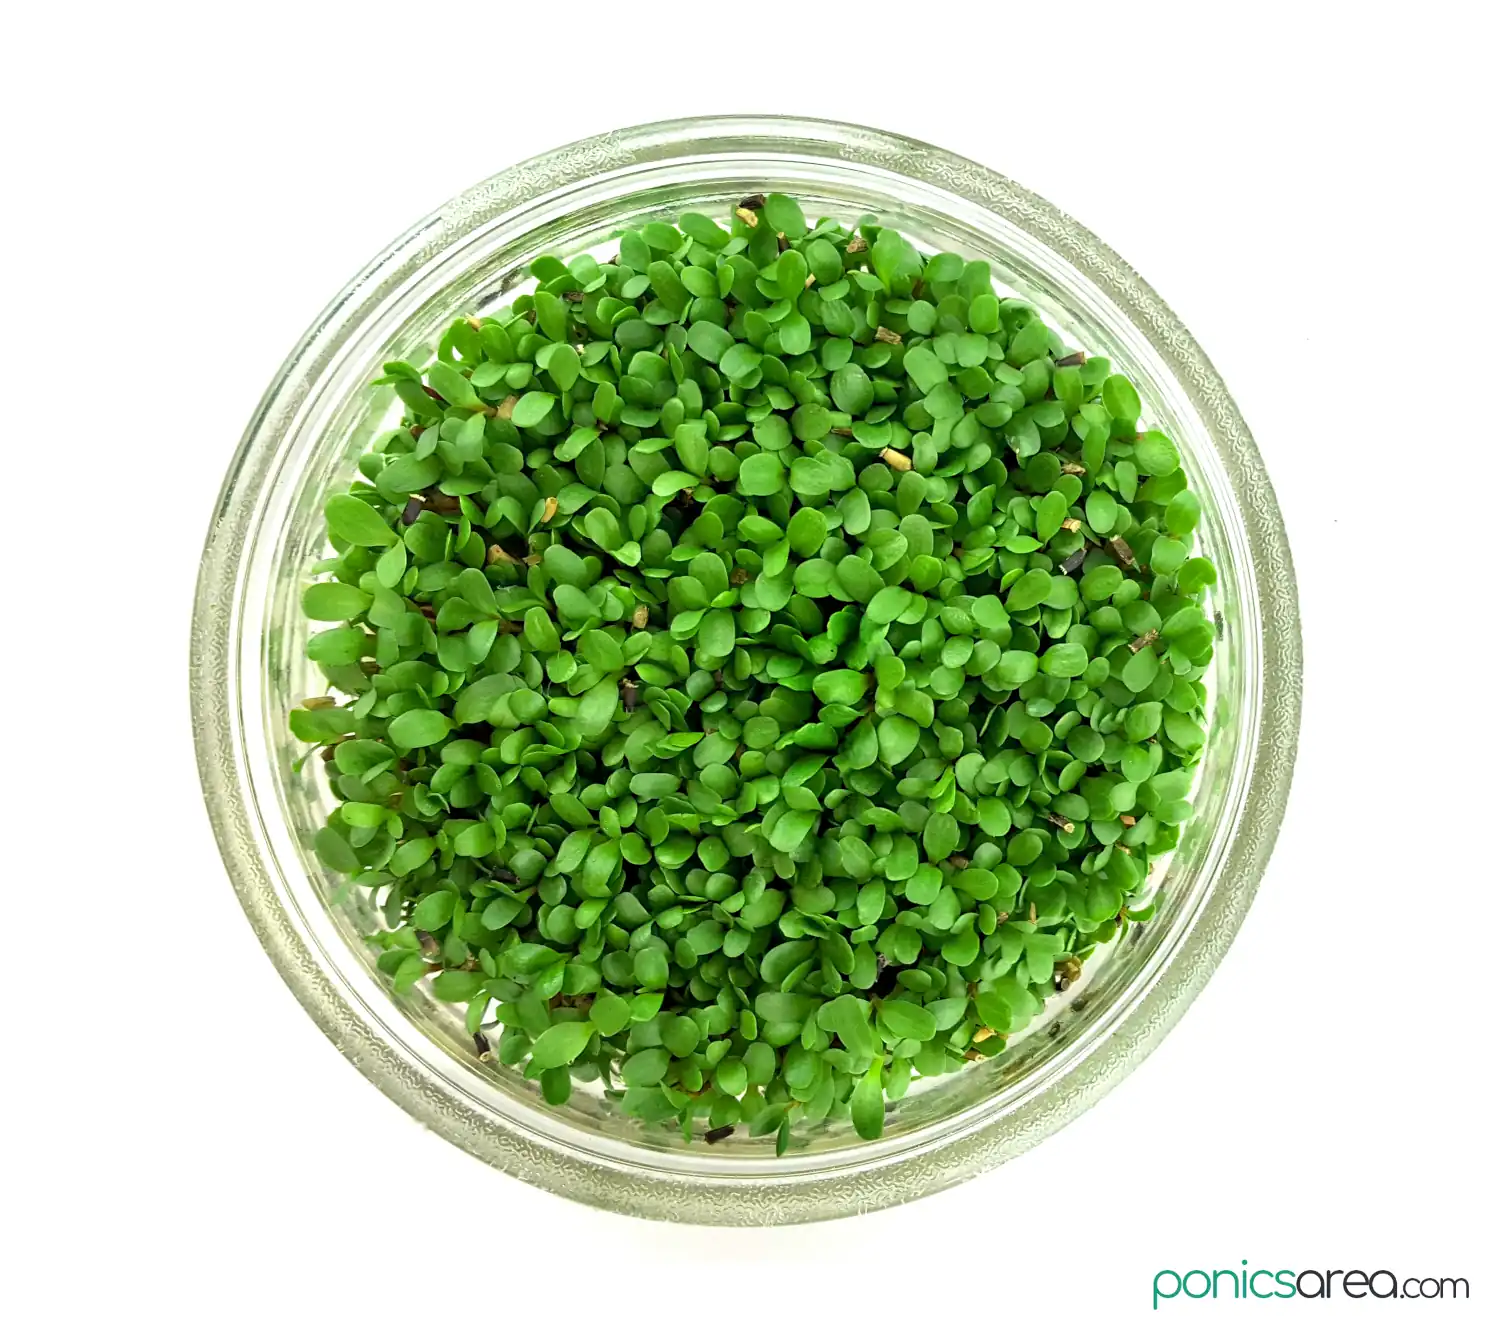
With microgreens, whether you’re using hydroponics, the tissue paper method, soil, soilless mixes or whatever, the whole secret is to use a nice even bountiful layer of seeds.
That’s where it definitely differs from germination. Lots of seeds are sowed for growing micros.
Table of Contents
Grow Microgreens Without Soil: Top 3 Microgreen Growing Kits
1. Best: Microgreen Pros Organic Growing Kit
This microgreen growing kit is one of the easiest ways to grow microgreens without soil. The kit has everything we need: a plastic tray in a beautiful wooden planter, 2 lots of fiber soil, organic sunflower black oil microgreen seeds, mixed salad microgreen seeds, a water spray bottle, and easy instructions. Once you get it, all you have to do is plant the seeds included in the kit, follow the instructions and you’re done. The tray is 16 x 8 inches, a very good size.
2. Cheap microgreen kit: Urban Botanic Microgreens Growing Kit
A very cheap kit for growing microgreens without soil is this one from Urban Botanic. We get: 3 grow trays, sustainable coco grow medium, and 3 packets of non-GMO seeds for growing broccoli, radish and arugula. This is not a fancy looking microgreen growing kit but it’s exactly what you might need if you’re looking for a cheap start into your journey.
3. Fancy kit: ingarden Superfood Growing Kit
This one is really expensive but it looks so amazing. It’s also a lot more complete than many other kits. It includes: automated LED grow lights, stainless steel frame, ceramic grow tray of different colors, 2 superfood seed pads, 1 radish superfood, 1 broccol1 superfood, 1 mustard superfood seed pad. The watering is done by pouring water into the tray, letting the roots take what they need. All in all, the ingarden Superfood Growing Kit is pretty perfect.
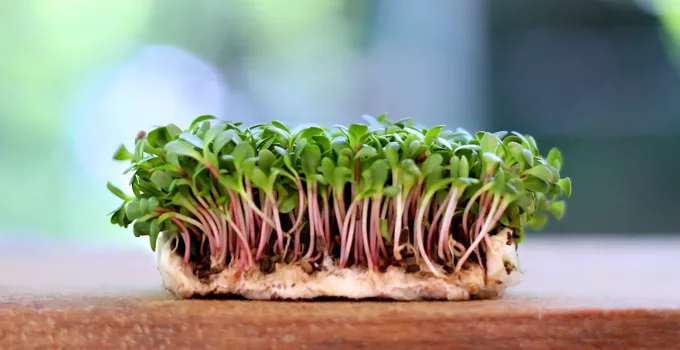
Grow Microgreens Without Soil on Paper Towel in 8 Steps
This is going to be the simplest method for growing microgreens without soil. That means that I’m going to talk about how to grow them on tissue paper/paper towels. By the way, you can also germinate seeds in paper towels.
The exception to growing microgreens on tissue paper is made by cabbage seeds. They cannot be grown on paper towels because they grow bigger roots. They need more depth than what tissue paper offers.
Let’s see what we need in order to grow microgreens without soil on paper towels or tissue paper. The cost is really negligible.
Step 1. Choose Your Seeds
Buy normal seed plants or special microgreens seeds, they both work so, choose whichever you want.
Step 2. Pick A Container
You can use plastic boxes with lids and holes on the bottom. You can save the ones that you buy fruits in or you can buy bigger ones
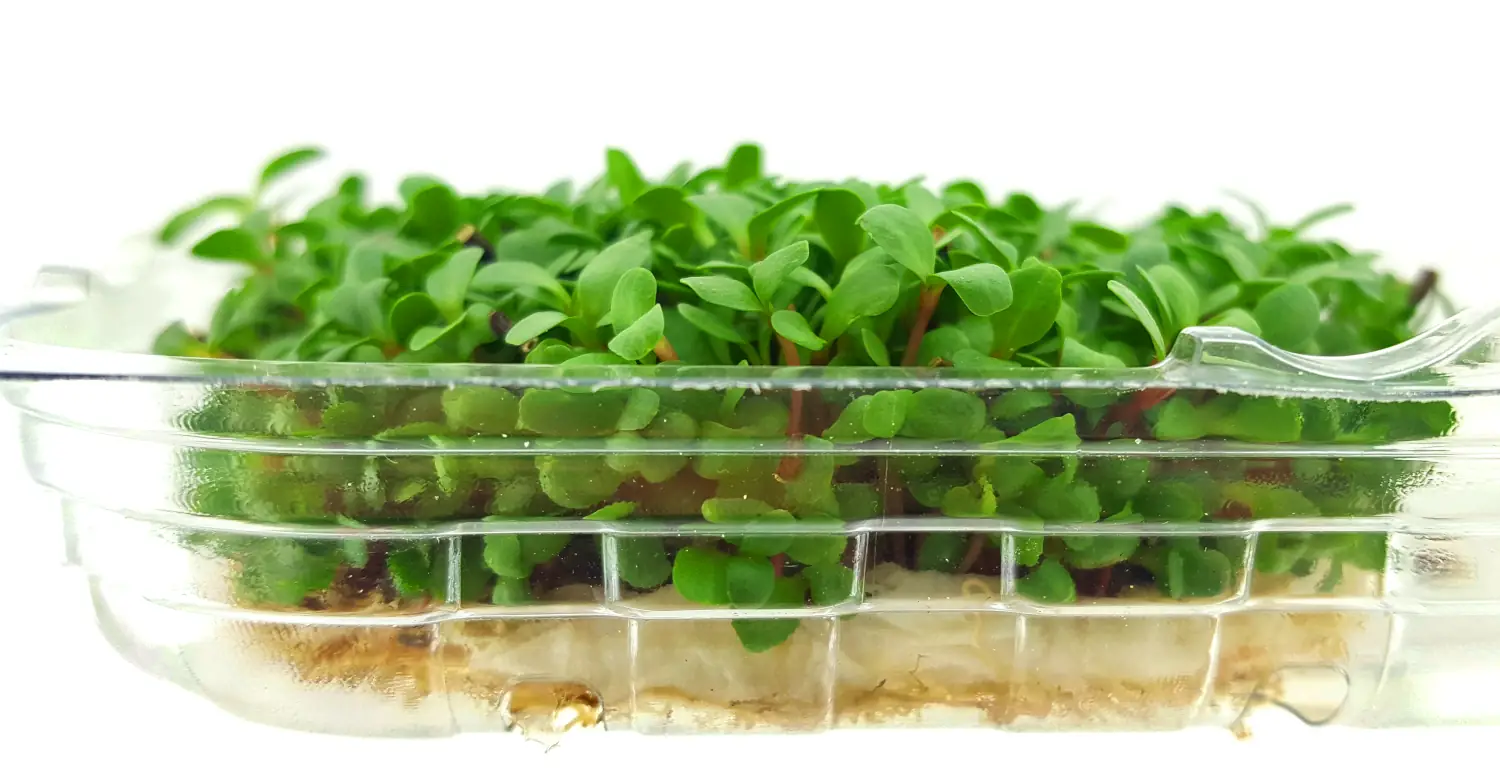
Transparent plastic clamshell food containers will work great.
Step 3. Place 4-5 paper towels per container
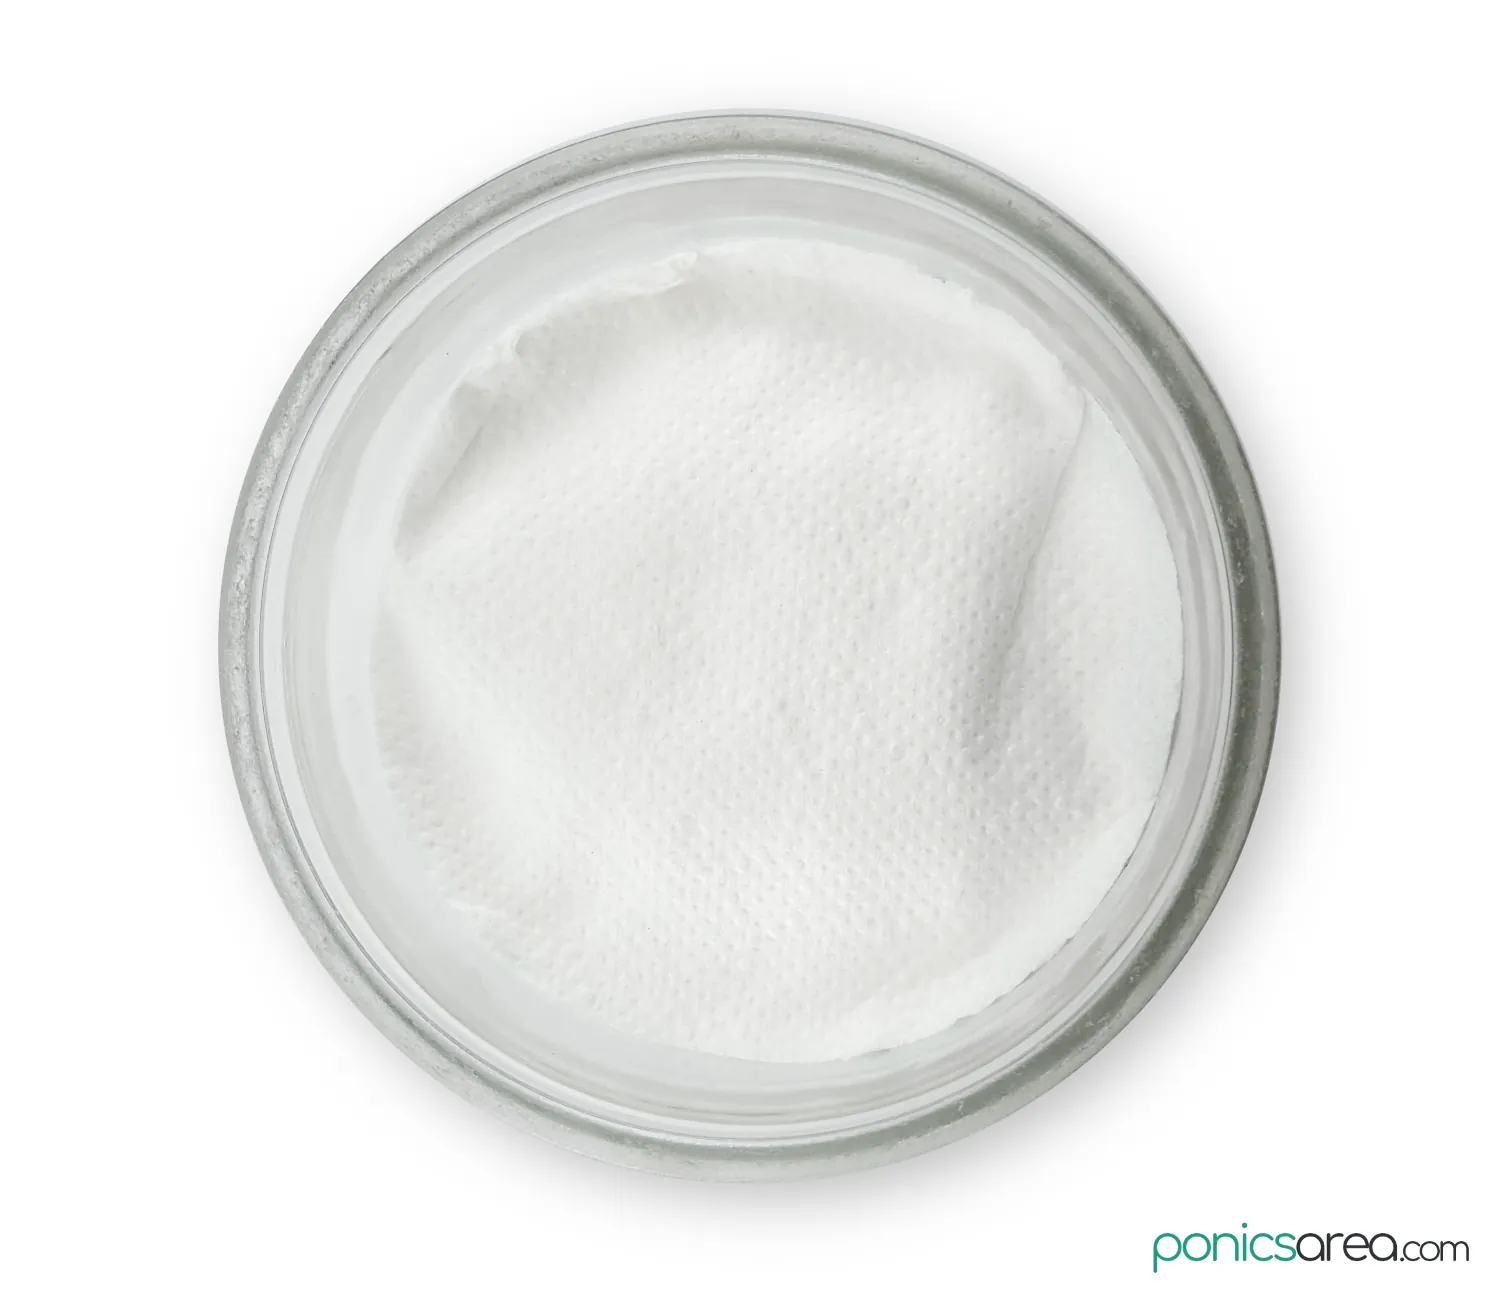
Line up the bottom of the box with 4-5 paper towels. Add enough water to soak up the tissues but not so much that there is excess water. Use only filtered water/distilled water not tap water.
The pH doesn’t matter that much when it comes to growing microgreens without soil so, you can skip on measuring the pH.
There’s no need to use nutrient solution but you can if you want to. After about a week after sowing the seeds you can mist the seedlings with some nutrients.
Step 4. Sowing the seeds
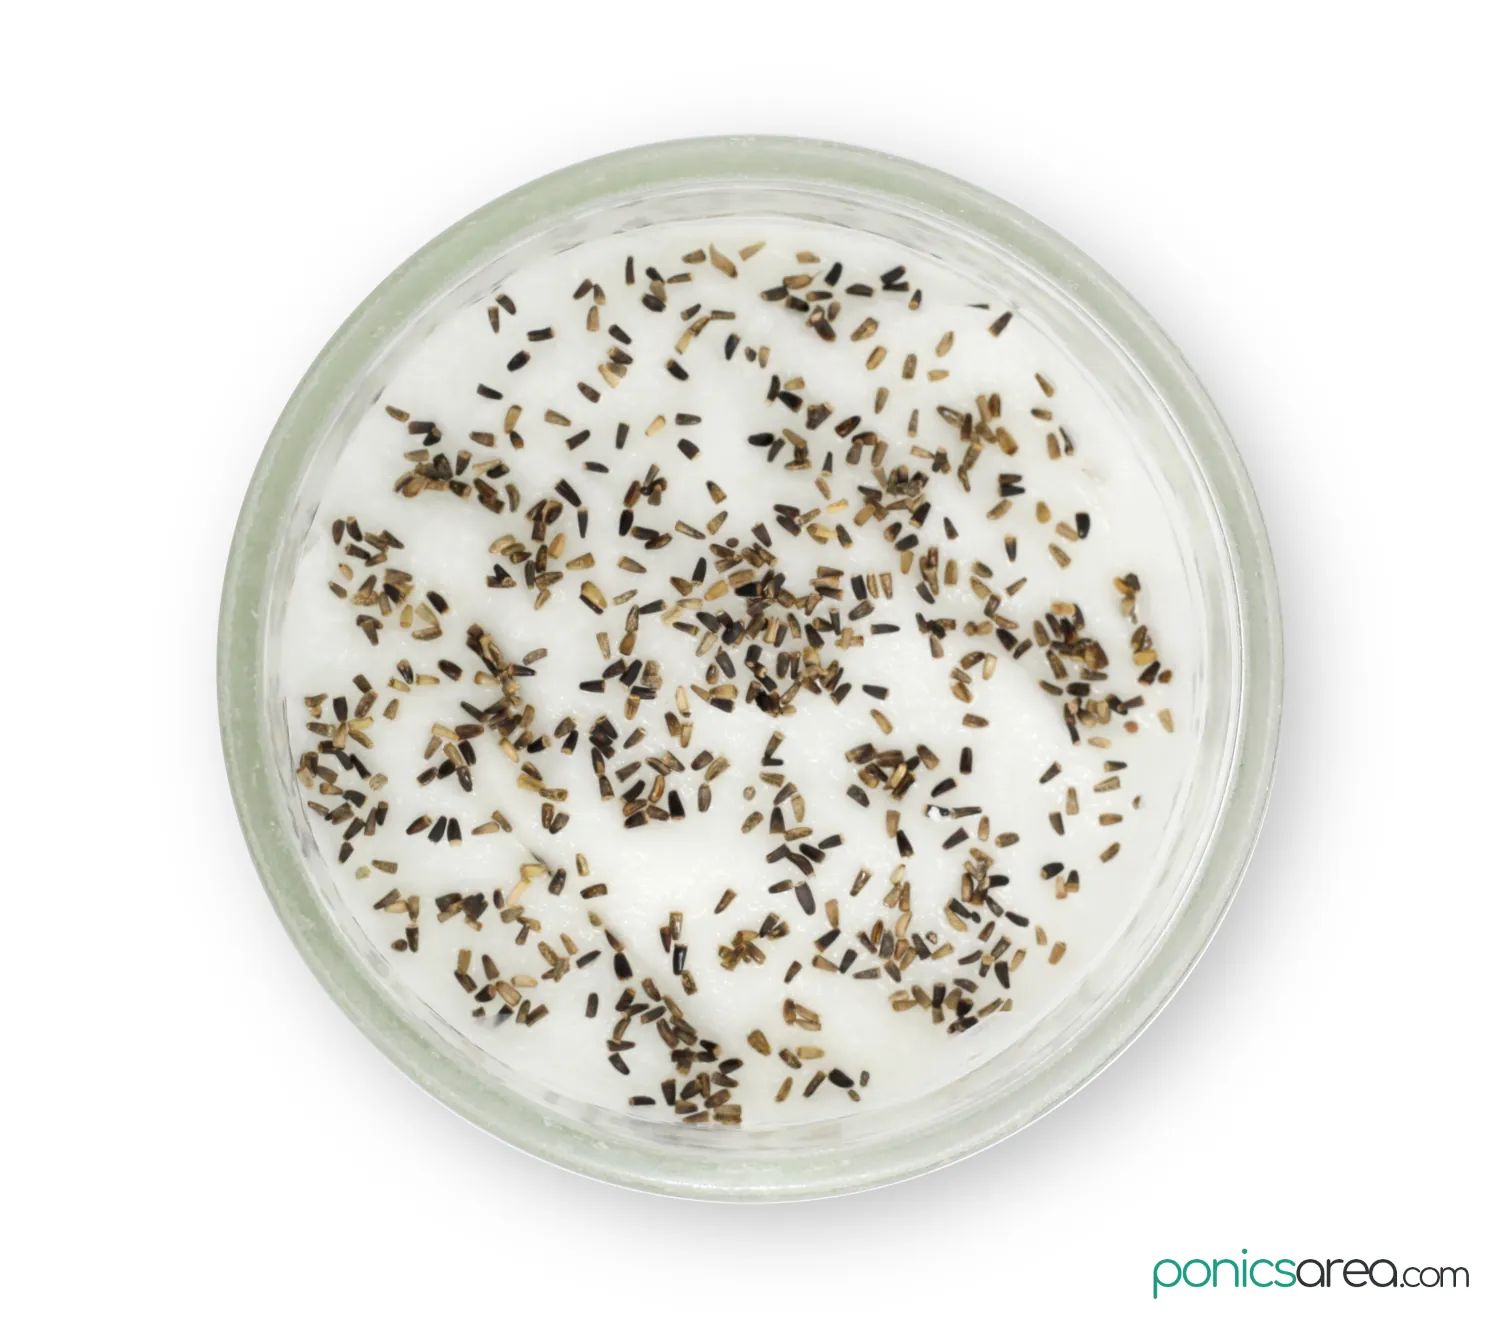
Cover the tissues with seeds, spread them evenly but use quite a lot of them.
Then spread a few more drops of water over the seeds with your fingers or with a plant mister. Put the lid on over the seeds
Step 5. Place the container in a dark place for 3 days
For the first 3 days place the boxes in a dark cupboard.
In order to easily water them twice daily, place the box in a tray with water and the tissue paper will soak up as much water as it can hold.
After 3 days in the dark, the seeds will sprout yellow in color.
Step 6. Sunlight/grow lights
After those 3 days are up, you will have to move them in the sunlight.
Now, it’s time to place them in the sunlight or under grow lights for 12 hours, which will make them turn from yellow to green.
5000K to 6500K fluorescent light is sufficient for micros because they’re not grown to maturity, they only need tiny leaves,.
You can also choose to use LED grow lights but, generally, they’re more expensive. A cheap option for LED grow lights is to get an affordable grow light bulb, like this one here.
Step 7. Watering
Continue to water the sprouts regularly.
Step 8. Harvesting
You can harvest in 2-3 weeks by simply cutting them right above the base with a knife or a pair of scissors.
If you want to see an interesting comparison between microgreens on paper towels vs microgreens in soil, check out this video.
Grow Microgreens Without Soil Hydroponically
These other various methods for growing hydroponic microgreens without using any soil depend on which growing medium you’re going to use.
The growing medium is the component in any hydroponics system that replaces the role of the soil. There are a few options to choose from when I comes to picking out the best growing medium for microgreens.
To make things a lot more easier, especially if you’re a beginner, you can just go for some of the best microgreen growing kits. These come with pretty much everything you need, including helpful instructions.
Hydroponic Microgreens: What You Need
There are a few basic components for growing hydroponic microgreens. The growing medium differs and we’ll analyze which choice would be best.
1. Growing trays
They should be about 1.5-2 inches deep and at least 20 inches long. You can check out my post on the best microgreen trays to see the options.
For the first three days after sowing the seeds you can stack up the growing trays one on top of the other. But you still need a dome to cover the tray at the top.
In order to provide proper air circulation, it’s best to ensure that each tray has its own dome. It will prevent molding because the seeds need to be kept moist by spraying them daily during their blackout time.
When the trays are taken into the light, after 3-5 days, the growing medium needs to be water from the bottom, not from the above.
2. Growing medium
There are 3 main options to choose from:
- hemp mats – yield comparable to soil, biodegradable, a bit pricey, don’t require nutrient solution
- coco coir compressed blocks – one of the cheapest grow media to grow microgreens without soil, requires nutrients
- rockwool mats – good option but not that easy to find
Any growing medium should be soaked in water before sowing the seeds.
You’ll also need a spray bottle for keeping the seeds moist during their blackout time. The first time you’ll spray them is immediately after sowing them all over the growing medium
If you need to use hydroponic nutrient solution, it’s easier to buy it and follow the instructions on the packaging that it is to make your own.
Hemp mats don’t need hydroponic solution for growing microgreens without soil. You should choose them if you don’t want to go into complications.
3. LED grow lights/ fluorescent lights (optional)
The trays are put under T5 bulbs or LED grow lights after about 3 days and the sprouts will turn from yellow to green and continue to grow for 2 weeks on average.
If you have access to sunlight, you don’t need grow lights.
4. Seeds
Sow plenty of seeds. The entire surface of the growing medium should be completely covered in an even uniform layer.
If you need more exact measurements, you can use a microgreens seeding density calculator.
For the first 3-5 days, the trays with the seeds need to be kept in a dark place, like a cupboard, with temperatures around 70 degrees Fahrenheit. This time is also called blackout time.
Once those 3 to 5 days are up, the growing trays are put under grow lights.
When they’re under grow lights, the method of watering switches from spraying the seeds to pouring water in the growing tray.
The growing medium will soak up as much as it needs, the excess should be removed.
Grow Microgreens Without Soil Hydroponically in 4 Steps
Let’s see which growing medium we can use for growing microgreens without soil, how often we should water, what is blackout time and light time, and other important things like that.
1. Watering
Some people choose to use filtered water or distilled water. If you’re using tap water, which most people do, let it sit for 24 hours to remove chlorine.
You will first have to spray the seeds immediately after sowing them. Usually, spraying them once a day for the first 3 days when they’re kept in the dark will be enough.
Once the grow trays are put under grow lights, the spraying with water is replaced by pouring water into the tray. The growing medium will absorb the needed water and the excess has to be removed.
The watering must be done from the bottom because you don’t want to get the leaves wet. If they get wet, they can wilt and get mold.
Also, the humidity should be around 40-50% and temperatures should be maintained in the 70°F range.
However, don’t mistake root hairs, which are white and fuzzy, for mold. Root hairs appear after the seeds have germinated, they’re developed by sprouts in order to soak up moisture and start developing the root system.
2. Soaking the seeds
You don’t need to soak all seeds. Small seeds pretty much don’t need soaking at all.
Soaking is done when large seeds or seeds with hard pods are used, like it is the case with sunflowers or peas.
3. Grow lights/Sunlight: Blackout Time & Light Time
There are 2 stages:
- the blackout time when the seeds are placed in a dark place for about 3-4-5 days
- and the light time when the trays need to be placed in sunlight or under grow lights
During blackout time, some people put weights on the seeds in order to encourage strong growth. That’s why some people stack up the grow trays one on top of the other and, at the top, just place a brick on top of another blackout tray. I think this weighing down method should only be tried for plants that grow high like sunflowers.
In order to grow microgreens without soil you can expose them to sunlight or you can use grow lights if you live in a small place that doesn’t get direct sunlight.
For microgreens, you can simply use 5000K to 6500K fluorescent lights or full-spectrum LEDs. T5 bulbs can be cheaper than LEDs and they work perfectly for growing micros.
4. Microgreens Without Soil: Best Growing Medium
I already mentioned that the best growing media for how to grow microgreens without soil are coco coir compressed blocks, hemp mats or rockwool mats.
Let’s talk some more about the most popular grow media for how to grow microgreens without soil so that you can make the right choice for you.
Hemp Mats – Great Results
If you want to know how to grow microgreens without soil and the tissue paper method doesn’t seem good enough for you, the next method you should be considering is using hemp mats.
They can be pricey, even twice pricier than soil. But they’re really easy to use and have a very good success rate, being able to hold water well.
If you’re using hemp mats, the microgreens can be sold live to restaurants.
The results can be comparable to soil crops.
The number of hemp mats should match the number of the plants you want to grow.
Before using the hemp mats, you need to soak them in clean water.
Watering might be needed more than once a day, they need to be monitored. You will have to water hemp more than you have to water soil.
It’s not necessary to use nutrient solution, which is a pretty major advantage – it can help if you have any around, you can spray a bit after you remove the trays from their dark storage place.
If you don’t use them anymore, you should know that hemp mats can be composted, which is amazing. Biodegradable materials are always a nice option, you can also just throw it away because it won’t hurt the environment.
Coco Coir Compressed Blocks – Cheapest Option
Coco coir compressed blocks are pretty much the cheapest option when it comes to growing microgreens without soil.
They can be twice as inexpensive as soil, which makes them the first option if you want to start a business that grows microgreens without soil. For many, soil still remains the best choice.
If you want to save money buy it in blocks and expand it yourself.
One of the biggest advantages for coco coir is that it retains water well but not too much and it doesn’t lead to mold and root rot. Coco coir doesn’t need to be watered more than soil.
It’s also organic and compostable.
In this case, too, the microgreens can be sold live to restaurants.
On the other hand, nutrient solution must be used.
Rockwool Mats
You can also use rockwool mats. This medium retains water very well, it doesn’t dry out easily. But it’s not as cheap so, that might make people look for other options.
Rockwool is one of the most popular options for seeds germination, since micros are just the second growth stage, it’s a pretty good option to make. But maybe not as good as hemp.
If you’re choosing to grow microgreens on rockwool mats, you will need:
- some trays to place the rockwool mats in
- water mixed in with nutrient solution for hydroponics – follow the instructions written on the packaging to mix in the nutrients into the water
- pour the water with nutrients over the rockwool mats, enough to really make them moist, or soak them up in a bucket containing the water and the nutrients, place them in the sink until the excess water has run out
- cover the mats in seeds, sprinkle them generously
- mist the top of the seeds with water
- stack up the trays one on top of the other and place a dome over the top
- leave them for 3 days like that, placing them in a dark cupboard
- after 3 days you can place the trays under grow lights
- you might need to water the mats once every 2 days, it depends on how quickly they dry out
- on average, in 2-3 weeks, they will be ready for harvest
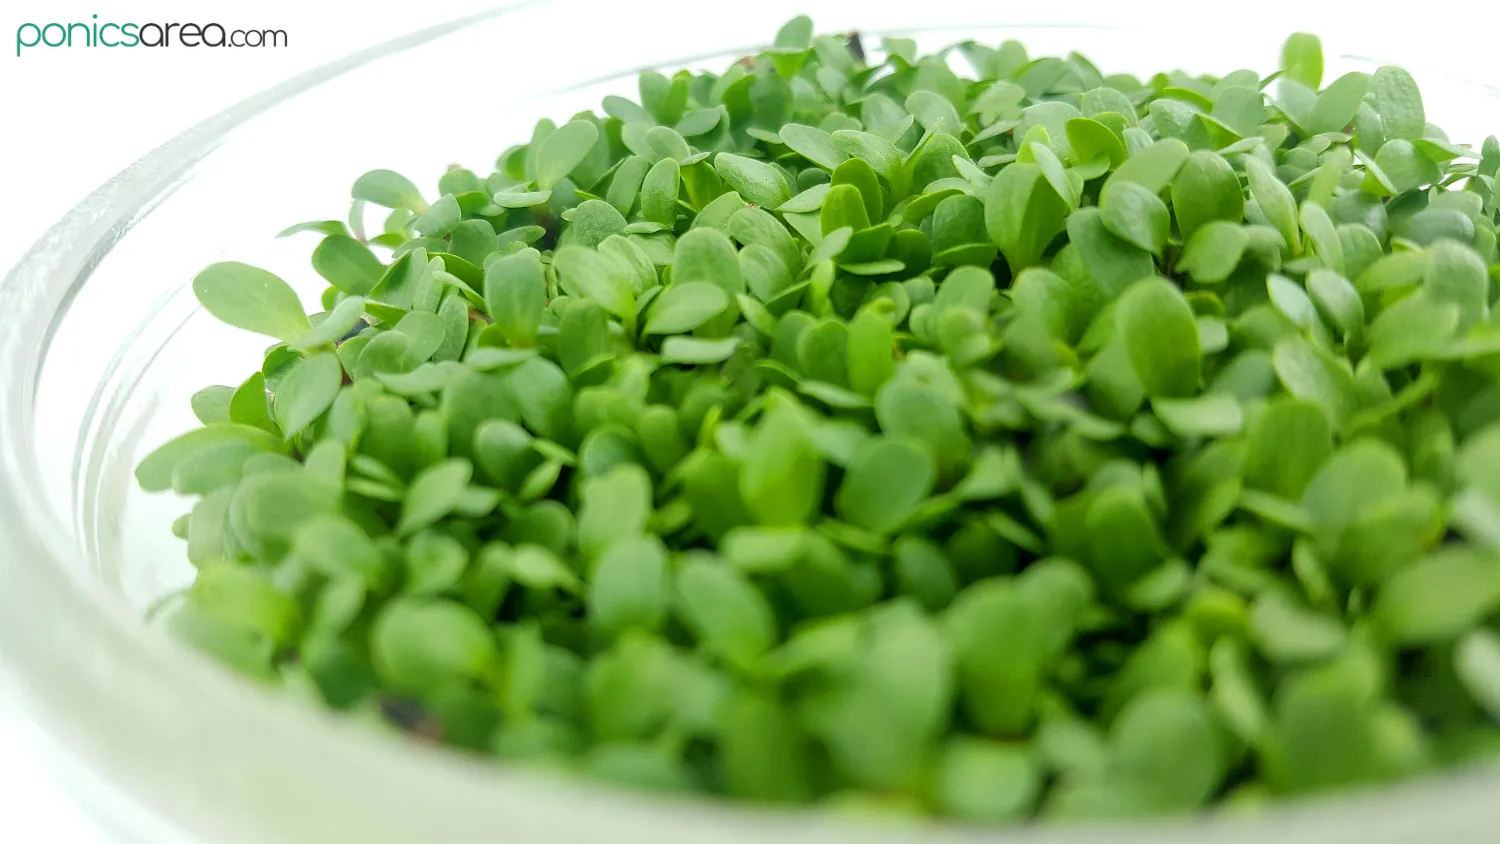
How to Harvest Microgreens
Usually, microgreens are harvested when the plant is no taller than about 2 inches (5 cm).
To reach such a low height, plants don’t need to be grown for long: anywhere from 1 to 3 weeks from when the seeds are sown and they’re ready to be harvested.
Since they are grown for an additional 7-10 days after germination, the harvesting happens very quickly.
The differences in harvest times are influenced by how quickly some plants germinate. Some will definitely take longer than others.
You can cut as you need and let the rest to continue growing, there’s no need to cut everything just because a couple of weeks have gone by.
Just use a pair of scissors or a sharp knife and cut above the base.
Can all plants be grown as microgreens?
There is no need for you to grow microgreens from special seeds, whether you’re growing them in soil or not. But you can get the special seeds if it makes you more comfortable and you believe that your rate of success will be higher.
Thus,
A lot of plants can be grown as microgreens. As long as you buy the seeds for them, you can grow them. Some seeds might be more recommended than others but, in principal, any normal seeds work.
Technically, microgreens can be grown into full mature vegetables if you provide them with the conditions to do so. We must also take into consideration that micros are grown under certain conditions to halt their growth so, growing mature plants might be more difficult.
It’s just best to establish your intention right from the start and follow the proper steps for the vegetables in question.
So, you can enjoy microgreens for all kinds of herbs, all kinds of leafy greens, mustard, peas, cabbage, broccoli, beets, celery, carrots, turnips, radishes, cauliflower, etc.
Many of them are definitely herbs, there might be a preference for them.
Why learn to grow microgreens without soil?

Microgreens might have started as impressive garnishes in restaurants but they have managed to become quite popular for households consumers, especially in the last few years.
The interest in micros has increased exponentially, which is awesome. For some, mature plants are still more appealing.
These are plants that won’t reach maturity before being consumed, they’re immature versions of the mature plants.
That tells us that their growth period should be very short. Micro means tiny and greens refers to the leaves of vegetables. They’re also called vegetable confetti.
Considering that, they should also be more easy to grow than fully-grown greens, herbs, and vegetables. Even the Kratky method with mason jars should represent a more complicated set-up than the components required to grow microgreens without soil.
What makes them so intriguing? Besides their obvious adorableness.
Nutritious
Firstly, they’re nutritious and if you want to include more vegetables into your diet, including these tiny adorable versions of plants is an amazing way to do it.
A 2012 study from acs.org stated that microgreens are actually more nutritious than their mature counterparts.
The study focused on analyzing the concentrations of vitamin C, vitamin E, vitamin A (carotenoids), phylloquinone for 25 varieties of microgreens.
The simple conclusion of the study, without getting lost in numbers, is that the tiny versions have higher nutritional densities than the fully-grown ones.
Easy growth
Secondly, they grow so quickly and easily. It can also save your household some money. They go so well in salads, soups, and garnishes.
Small farms or urban growers are also discovering how profitable it can be to grow the tiny plants.
If you grow microgreens hydroponically indoors, you will be able to grow them all year, even when it’s snowing outside. That’s the beauty of hydroponics. Grow lights definitely help a lot with making that happen.
Intense flavors
Thirdly, they’re absolutely delicious. They have deep concentrated flavors, crispness, and can brighten up any dish.
Moreover, getting kids involved into growing their own greens can make them eat more of them. That’s certainly a bonus.
This is a pretty complete guide on how to grow microgreens without soil, if I can say so myself, but I must tell you that most people actually prefer to grow microgreens in soil, even though it’s more messy but it can be more productive and that’s the winning argument.
How to grow microgreens without soil FAQs
Let’s answer a few questions related to this guide on growing microgreens without soil.
1. What can I use instead of soil for microgreens?
If you don’t want to spend much money at all, then you could experiment with growing microgreens on tissue paper. Another option for those with a more generous budget is looking for microgreen growing kits. Or we can buy some trays and try to grow microgreens hydroponically by using hemp mats, coco coir compressed blocks or rockwool mats as a soil substitute for microgreens.
2. Is it better to grow microgreens with or without soil?
If you don’t want to make a mess inside your house, you will definitely consider growing microgreens without soil. It will also require less water and the process is quite easy, especially when you get accustomed to the steps involved. On the other hand, microgreens grown in soil might result in a higher yield, which is something to consider if you’re trying to turn into a profitable business. Soil is quite easy to work with.
3. Is it better to grow microgreens on a paper towel or soil?
If you’re starting a business, you’ll prefer growing in soil. On the other hand, if you just want to experiment with growing microgreens as a hobby and you don’t want to spend much money at all, the I recommend trying to grow microgreens on paper towels.
4. Can you sprout microgreens without soil?
We can definitely grow microgreens without soil in a variety of ways: trying to grow microgreens on tissue paper or by using hemp mats, coco coir compressed blocks or rockwool mats. And we can also buy microgreen growing kits that include everything we need: tray, fiber soil, and seeds. There are many options to experiment with when we want to grow microgreens without soil.
")
")
