This guide on how to grow hydroponic peppers will definitely be interesting for a lot of people, whether you want to grow bell peppers only or are interested in the spicy varieties.
After covering the hydroponic conditions for growing peppers, we’re going to talk about the systems and the varieties that you can grow. The alternative is to learn how to grow peppers in pots.
Table of Contents
How to Grow Hydroponic Peppers: Conditions
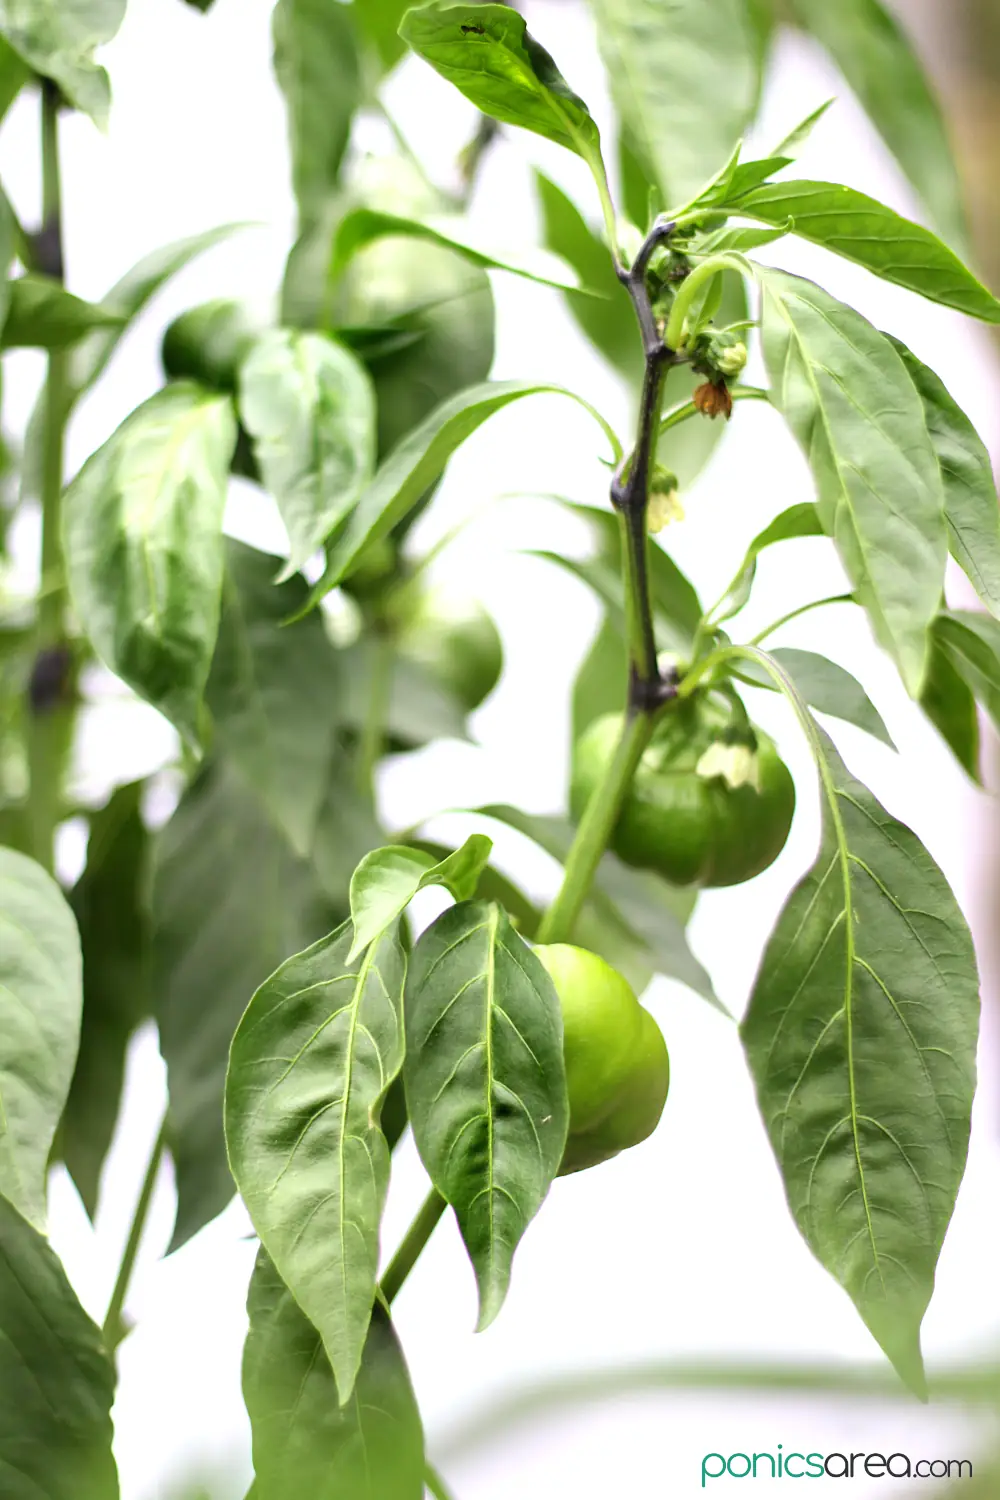
First of all, peppers are fruits, just like tomatoes but we can also call them vegetables. Absolutely both work.
Furthermore, since I mentioned these two in relation to one another, there’s one thing to make clear: those who already have experience with growing hydroponic tomatoes or even growing cucumbers hydroponically, will have a much easier journey with growing peppers hydroponically.
It means that you already have experience with growing bigger and more demanding plants, much more demanding than herbs and lettuce. And it also means that you already have a system that can handle all kinds of crops, which is awesome.
To gain even more knowledge, you can also read this guide on how to grow hydroponic peppers, it has helped me quite a lot.
1. pH & EC
The optimum pH levels are between 5.5 and 6.0 but you can also go for the general hydroponic pH between 5.5 and 6.5 or for 5.0 to 6.5 pH levels. You have plenty of flexibility in this area.
If you keep the temperature levels towards hot, you can maintain:
- 1.6-1.8 EC for the vegetative stage
- 2.3-2.7 EC for the fruiting stage
If you have colder temperatures, the EC needs to be between 2.5 and 3.0.
The conclusion is that for warm temperatures, a general EC of 2.0 is pretty good.
2. Temperature
Just like cucumbers and eggplants, these fruits/vegetables like their warmth.
You can grow them at 72-86 degrees F (22-30 degrees C) during the day and 60-65 degrees F (15-18 degrees C) at night.
If it goes above 90 degrees F, little fruit set will occur.
Moreover, spicy peppers are grown at higher temperatures.
3. Nutrient Solution
I recommend buying:
- a general hydroponic nutrient solution
- or nutrient solutions that are formulated for different stages of growth: vegetative and bloom nutrient solutions
Higher concentrations of potassium and phosphorus are needed for flowering and fruiting.
If you want to understand more about feeding plants in hydroponics, check out my article on the best hydroponic nutrients. In that article, I also include a recipe for making your own nutrients in whatever quantities you desire.
4. Lighting
If you’re growing outside, you need to give them full sun.
Indoors, you can let the grow lights ON for 14 hours per day.
5. Pollination
Gently shake the plants for pollination, the same way we do for tomatoes. It increases the percentage of larger fruits and decreases fruit deformation.
Using a circulatory fan, directed at the plants can help with pollination and you won’t have to do it by hand.
Another advice is to only keep the first flowers that appear on the plant in order to encourage general growth.
If you leave the flowers that continue to appear on the plant, the resources have to be divided. That means that the already growing fruits will not be favored and they will not reach a sufficient size quickly.
6. Do they need support?
If we’re talking about heavy plants, they definitely need support from stakes or vertical ropes in order to prevent the stems from breaking under heavy fruiting.
The smaller varieties will probably not require any additional support.
7. Pruning
If you want to know how to grow hydroponic peppers, you’ll also need to learn about pruning, too. It’s a bit more complicated than the pruning we do for basil.
Once the strong seedlings are transplanted into the system, from the main stem 2 to 3 stems are formed by a natural split in stem. The idea is that you need to prune and leave only the 2 strongest stems.
In commercial settings, string is twisted around each of these 2 strongest stems in order to hung them from an overhead support.
For household growers, improvised stakes can work to support the stems.
Another thing to do with pruning is that above each flower bud a lateral shoot forms. This lateral one has to be removed immediately to maintain the vigor of the main buds.
Remove leaves if they are yellowing or if they get tangled up but do not remove more than 2 leaves at the same time or during a week.
How Long Does it Take to Grow Peppers Hydroponically?
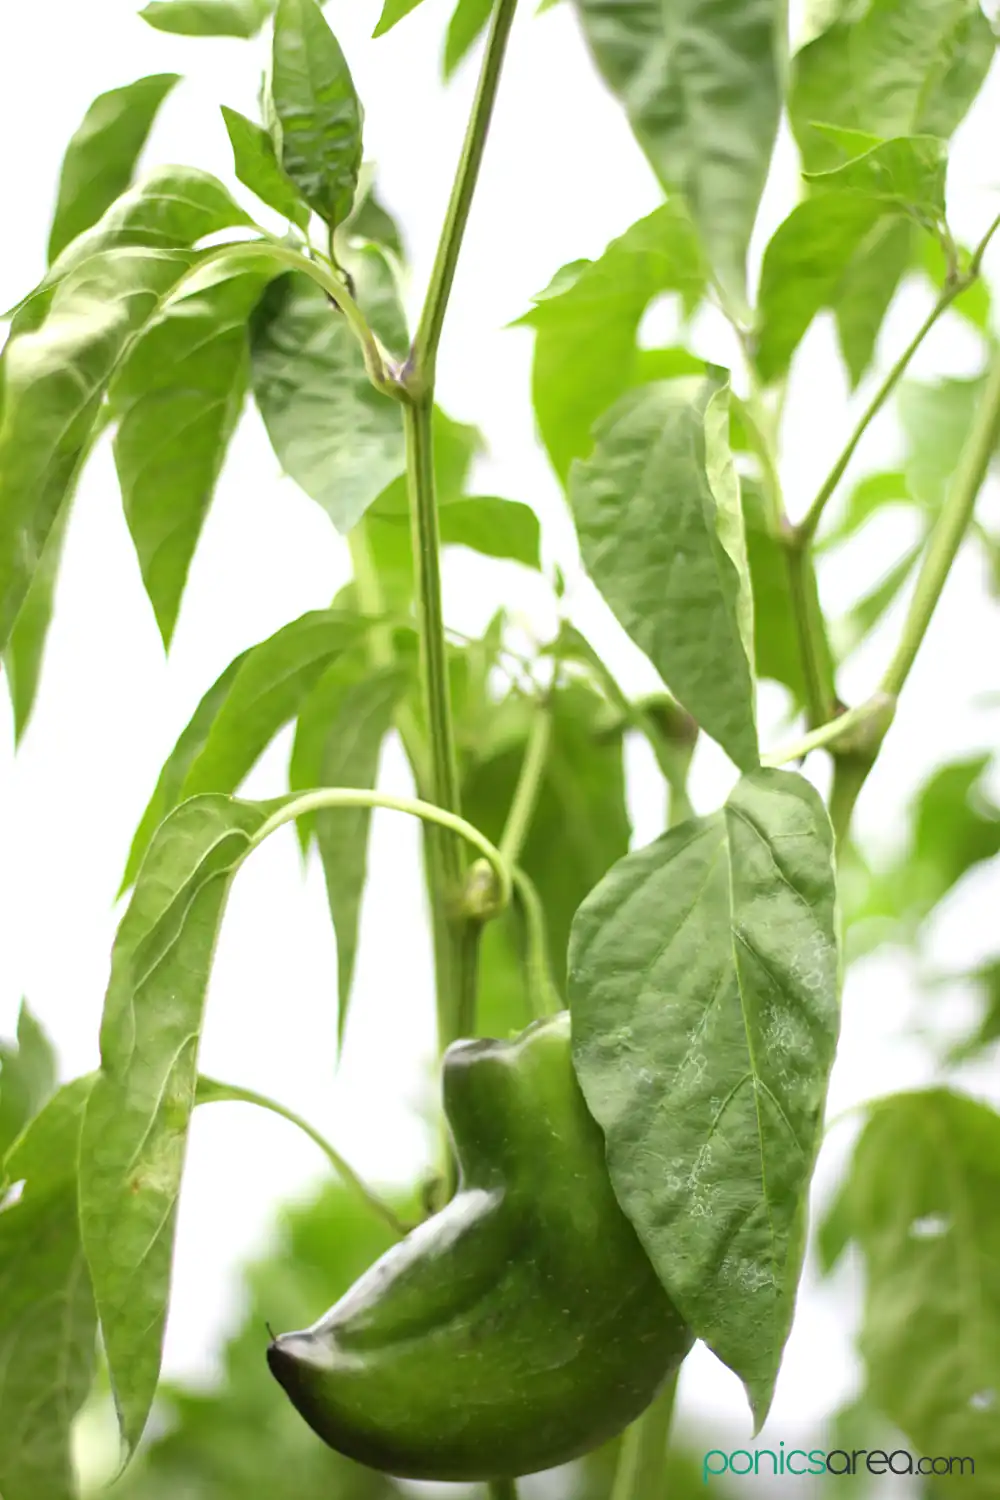
When it comes to how long does it take to grow peppers hydroponically, it obviously depends on the variety you’re growing and how good your conditions are. But let’s talk in general.
It takes about 2 to 3 months for peppers to mature.
Growth time: 60 to 95 days (check for your variety to get more specific numbers).
Specific timelines for different growth stages:
- 8 to 12 days for germination (if you’re propagating from seed)
- in commercial settings, after 2-3 weeks from sowing the seed, seedlings are transferred from small propagation cubes to larger blocks and provided with full-strength nutrient solution
- seedlings are raised in the nursery for the first 6 weeks from sowing and after that are transplanted into the system
- from fruit set to harvest it takes between 7 and 9 weeks
- if we add all that up, we end up realizing that from sowing the seeds to the first harvest it takes about 20 weeks
- commercial growers grow varieties that allow continuous harvesting for 8 months
Harvesting
You should harvest them when the bushes have glossy colored fruits.
Peppers are good even if they’re not completely ripe but they will lack the sweetness and deep flavor that ripe fruits have.
It’s easy to tell because, with the exception of those who mature into the green color, the colorful varieties basically scream that they’re ready for harvest. You can harvest when the fruit has reached at least 80% color.
Use a sharp knife for cutting.
You can harvest continuously in order to promote flowering, fruit set, and growth. Commercial growers produce them on a full-year cycle.
Pepper Varieties
When it comes to knowing how to grow hydroponic peppers, we must also figure out which varieties we would like to see flourish in our system. There are definitely a lot to choose from.
Capsicum (bell peppers) varieties:
- green bell (Antebellum, Bayonet, Blitz, Touchdown)
- red bell (Cubico, Mazurka, Fantasy)
- orange bell (Garfield, Milena, Fellini, Nairobi, Eagle)
- yellow bell (Samantha, Lesley, Fiesta, Gold Flame)
- purple bell
- brown and white capsicum
- mini sweet peppers
- long sweet peppers
If you want to learn more about each of these varieties, you can do so here.
If you want to know how to grow hydroponic peppers in smaller systems, you should first start by choosing smaller varieties, like the mini sweet peppers or the long sweet peppers.
For spicy varieties, you can choose from:
- jalapeno
- habanero
- cayenne
- cherry peppers
- Anaheim pepper for more mild tastes
Commercial growers choose hybrid cultivars that have been bred for yields, fruit size and type, and that are multiple disease resistant.
These are based on indeterminate types that continually produce new stems, leaves, flowers, and fruits. That’s why, for them, when it comes to growing hydroponic peppers, this is a year-long crop.
How to Propagate Peppers for Hydroponics
There are two main methods of propagation: from seeds or from cuttings. I believe that most people germinate from seeds.
When the seedlings are big enough or the cuttings have grown the necessary roots, plant 3-6 plants per square meter. If you’re growing small varieties, you can definitely go for more plants per square meter, maybe double the number.
From Seeds
The seeds will be germinated like all the other seeds, in rockwool cubes. Or you can use oasis, coco coir or other foam material.
Sow 1 seed per cube.
The temperature should be between 70 and 90 degrees Fahrenheit (21 to 32 degrees Celsius). Lower temperatures of 65 degrees F (18C) can also work but I wouldn’t advise you to go lower than that.
Germination would be complete in 8 to 12 days. The hotter it is, the faster it goes. You don’t use nutrient solution during germination.
After these 12 days have passed and the seedlings are getting stronger, you can water them with half-strength nutrient solution.
In another 7-8 days, you can move them from the cubes to rockwool blocks. At this point you can water with full-strength nutrient solution.
As they grow bigger, you will have to space the seedlings wider for ensuring maximum light interception and preventing the development of overly tall transplants.
You can transplant the seedlings into the system together with the rockwool blocks when they have at least 4 true leaves, which will happen in another 2-3 weeks.
From sowing the seeds to moving them into the system, it takes about 6 weeks.
No flower development should appear prior to transplantation. This period of 6 weeks is just dedicated to establishing good vegetative vigor.
From Cuttings
Just like it is the case with eggplants, you can propagate peppers from cuttings, too.
Place 2-3 cuttings in a jar filled two thirds with water, placing it on the window sill. Change the water from time to time.
The roots should appear in 2-3 weeks. That’s when they can be moved into the growing medium in your system. The major advantage is that the timing is shortened, compared to germinating seeds.
How to Grow Hydroponic Peppers: The Systems
We’ll go from talking about the set-ups that beginners can use to talking about the more technically advanced ones.
Kratky Method
If we’re talking about setting up the perfect most affordable system for beginners, I recommend the Kratky method with a 5-gallon tote as a container.
It’s perfect if you want to know how to grow hydroponic peppers indoors in a very limited space, without spending too much money.
You need to buy a 5 gallon tote and drill 4 holes into the lid where you’ll insert 3-inch net pots with hydroton (expanded clay aggregate) as growing medium. The hydroton will surround the rockwool cubes.
For this method, I recommend germinating the pepper seeds only in rockwool cubes. You can skip that transition to rockwool blocks and just transplant the seedlings after they have grown for about 3 weeks in the cubes.
Then, you’ll have to fill the container with water and nutrient solution.
You’ll also need grow lights since you’re growing indoors. If you’re growing during the summer, you can skip on the artificial light.
You can check out this video for a visual guide on how to grow hydroponic peppers indoors with the Kratky method.
How to Grow Hydroponic Peppers with AeroGarden
This small guide for small systems applies to all the other hydroponic kits for beginners, like the more affordable ones from iDoo or Ezorkas. It’s not restricted to AeroGarden.
These are the perfect systems for beginners who don’t know much about hydroponics at all. It’s nice that each of these kits includes nutrient solution, grow sponges with domes for germination, nice grow lights, alerts for when you have to add nutrient solution, and detailed instructions.
The reason why AeroGarden is a nice choice is that you buy directly either of these:
- spicy chili pepper variety seed pot kit
- sweet bell peppers seed pot kit
- tomato & pepper variety seed pod kit
These kits include the seeds inserted into grow sponges and with domes on top. You only have to add water and nutrient solution to the reservoir, insert the grow sponges into the pods, turn on the grow lights and you’re set.
They also include liquid plant food (nutrient solution) and plant spacers. What is the purpose of plant spacers? Well, since these plants grow in a large bush and the indoor gardens are small, you’ll only be able to grow 2 plants at one time. The spacers cover the empty pods.
Just be warned that these pod kits are not cheap at all.
In the AeroGarden indoor garden, the growth stages for peppers are: 7-10 days for germination (it is done in the system with the domes on but no nutrient solution added yet), 45 days to blossom, 75 days to fruit, 105 days till harvest time. The average life span is 9 months.
They advise 16 hours of light per day.
More Advanced Systems
These are the classics and you pretty much know all about them if this is not your first introduction to hydroponics.
Hydroponic systems to grow peppers hydroponically include:
- 5 gallon bucket DWC system – you can actually grow 2 plants per bucket but if you already have the lid drilled with a single hole, you’ll grow one plant per bucket; it’s still one of the easiest to build at home and you can link as many buckets as you want
- NFT with PVC pipes – this is a really good set-up for larger plants, you can place the PVC pipes on a slope to collect the excess water with nutrients and reuse it
- drip – it remains the best choice for growing a large variety of plants but it’s also one of the hardest to build; read all about the drip hydroponic system if you are curious about what you can use for reservoir, growing medium, grow beds, you’ll discover that the drip with 5-gallon buckets is a wonderful alternative to buying rather expensive hydroponic growing trays
- ebb and flow – very similar to the drip system and perfect for large plants and even for crops that usually grow in the ground, like potatoes, carrots, beets, onions
You can also grow peppers with aquaponics. It’s recommended to use grow beds but, for small varieties, you could also use rafts (an aquaponic DWC set-up).
If, in the end, you decide that growing in water and nutrients is not the method for you, check out my post on indoor tomato growing kits because they will work for peppers, too.
When it comes to choosing how to grow hydroponic peppers, there are quite a few options to choose from so, settle on the method and system that will match your level of knowledge.

